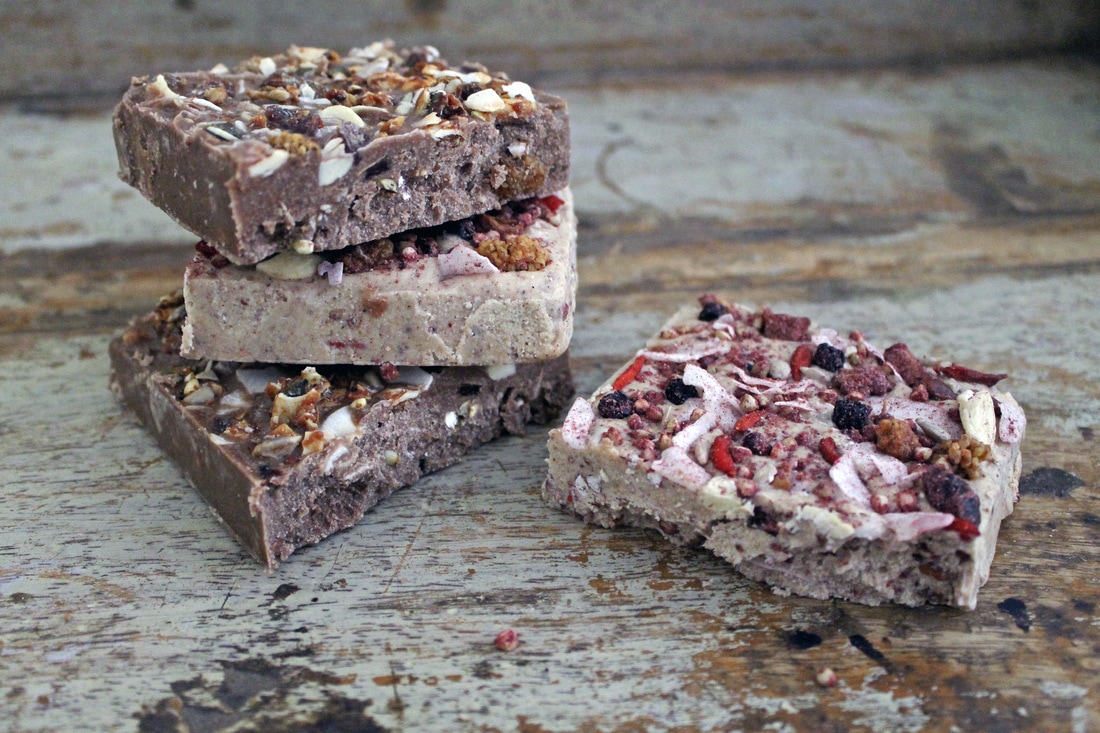
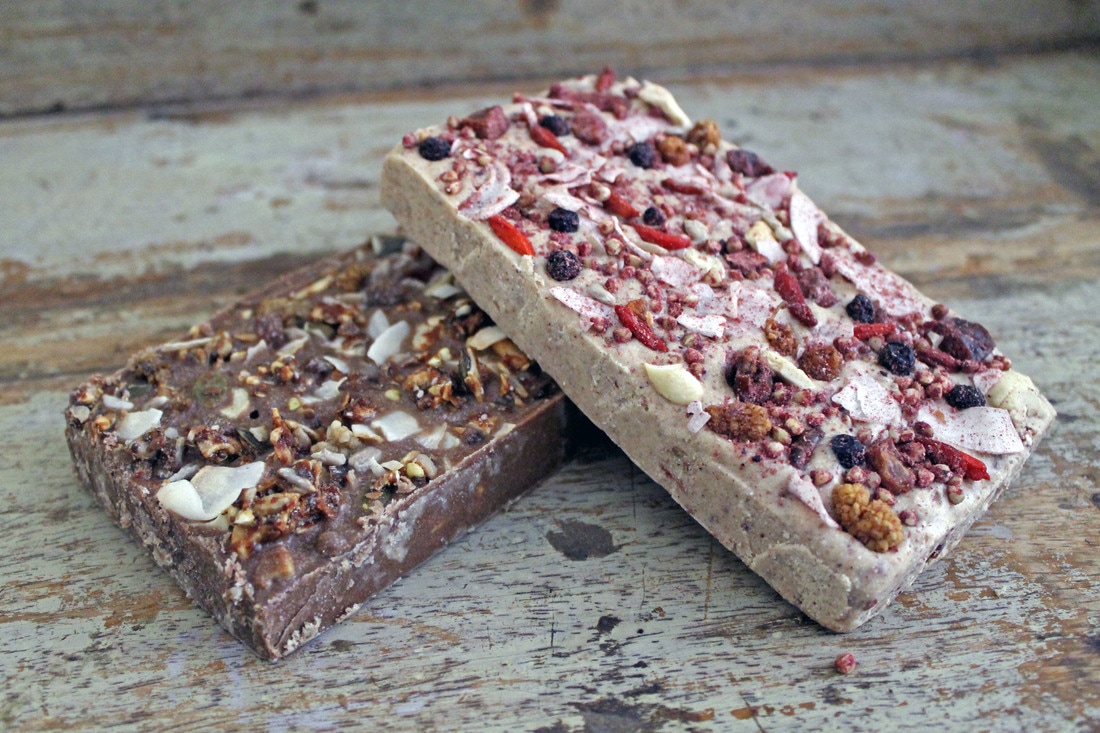
Granola fudge (Paleo, gluten free, dairy free with AIP and low FODMAP options) This granola fudge was my Easter weekend treat. It took all of 5 minutes to throw together 1 hour to set and about 45 seconds to devour. It is sweet, rich, creamy and totally delicious - not to mention versatile. I used 2 different granolas from Lucy Rocks to fill and top each bar of fudge. Both granolas are not only paleo perfect but also utterly scrummy. I have listed below recipes for Paleo, AIP and low FODMAP variations of the fudge.
All recipes make 1 block of fudge as pictured but you could divide your mixture between different moulds. You will need: A food processor Baking paper A small dish or mould - I used a baking dish measuring 3 x 6.5 inches Ingredients for blush crunch granola fudge: 3/4 cup tiger nut powder 1/2 tablespoon of almond butter (my favourite is meridian) 2 tablespoons of coconut oil (my favourite is lucy bee) plus half a cup of melted coconut oil 1 teaspoon of maple syrup A pinch of sea salt 1/2 cup of Lucy Rocks Blush Crunch Granola (plus extra for decoration) Method: Line your dish or mould with baking paper and set to one side. Add the tiger nut powder, almond butter and 2 tablespoons of coconut oil to a food processor and blend until a smooth paste forms. This will look like a thick nut butter. Add to this the salt, maple syrup and melted coconut oil. Blend again thoroughly until you have a smooth consistency. Transfer the liquid to a bowl and stir in 1/2 a cup of granola - combine thoroughly so that the granola pieces are evenly distributed throughout the fudge. Pour the fudge mixture evenly into your mould/dish. You can then decorate the top of the fudge by sprinkling more granola over the surface. Place in the fridge for an hour to set. Remove, admire, demolish. Ingredients for golden granola fudge: 3/4 cup of tiger nut powder 1 tablespoon of carob powder (can sub for chocolate) 2 tablespoons of coconut oil plus half a cup of melted coconut oil 1 teaspoon of maple syrup A pinch of sea salt 1/2 a cup of Lucy Rocks Golden Granola (plus extra for decoration) Method: Add the tiger nut powder, carob powder and 2 tablespoons of coconut oil to the food processor. Blend thoroughly to create a smooth paste the consistency of nut butter. Add the salt, maple syrup and melted coconut oil to the paste and blend again until smooth. Transfer this mixture into a bowl and stir through 1/2 a cup of golden granola, ensuring it is spread evenly throughout the fudge. Pour this mixture evenly into your lined mould/dish. Sprinkle additional granola over the surface to decorate and refrigerate for an hour until set. Ingredients for AIP, low FODMAP fudge: 1 cup of tiger nut powder 2 tablespoons of coconut oil plus half a cup of melted coconut oil A pinch of sea salt A teaspoon of maple syrup 1/2 cup of freeze dried strawberries (plus extra for decoration) * If you can tolerate it adding a tablespoon of almond butter makes the fudge even more creamy! Method: Add the tiger nut powder (almond butter if you can tolerate) and coconut oil to the food processor and blend until it forms a smooth paste. Add the salt, maple syrup and melted coconut oil and blend again to form a smooth consistency. Transfer the mixture to a bowl and stir in the freeze dried strawberries, ensuring that they are evenly spread throughout the fudge. Evenly pour the fudge mixture into your lined mould and place in the fridge for an hour until completely set. Each bar of fudge will keep in the fridge for up to 4 days....if it lasts the long.
2 Comments
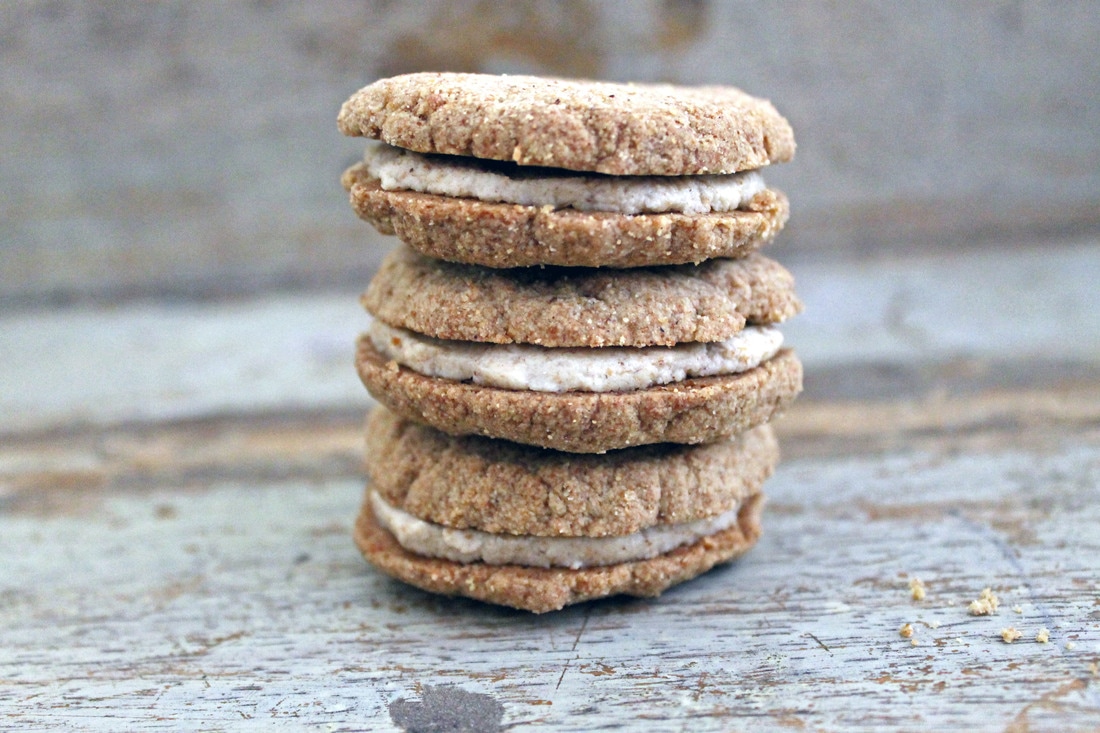
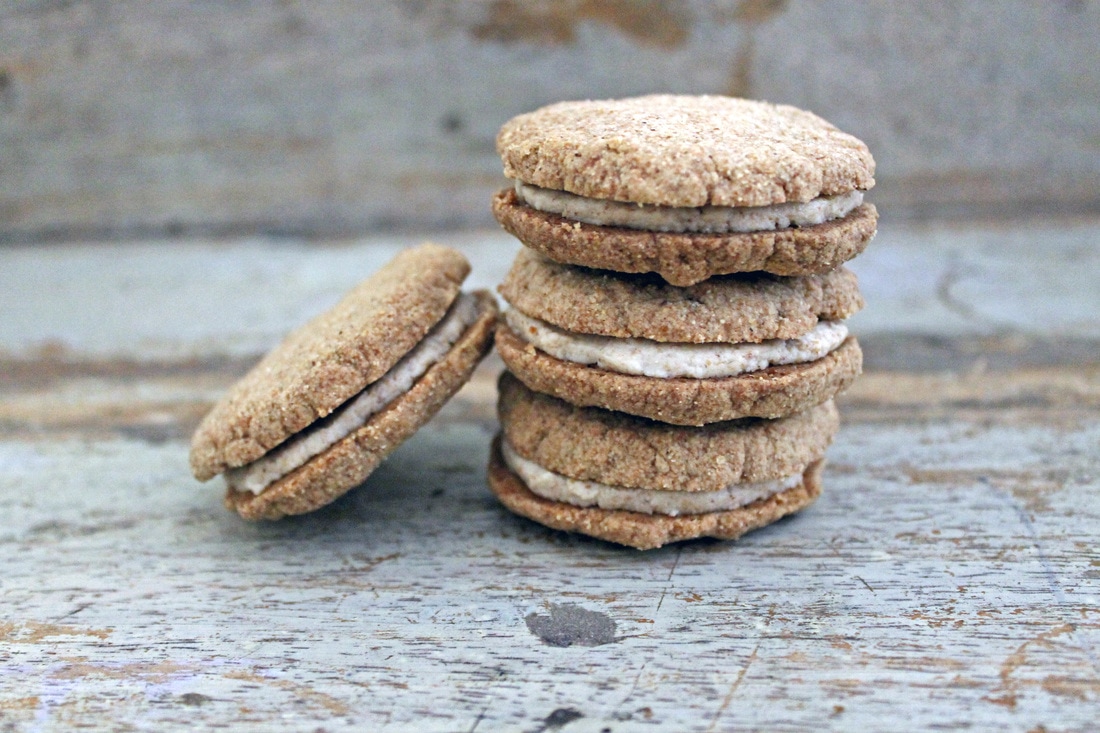
Whoopie pies (AIP, low FODMAP, Paleo, gluten free, dairy free, nut free) When I set about making these, I had absolutely no idea what I intended to create. As the story goes, I was lying in bed one Saturday morning and decided I fancied a cookie. Better still, multiple cookies. It then occurred to me that these cookies should probably be sandwiched together with some kind of creamy filling. This was all the motivation I needed to leave the bed and hit the kitchen. With a few adaptations to one of my previous biscuit recipes, these delicious tiger nut whoopie pies were born.
'Whoopie what?' I hear you cry. A whoopie pie is a kind of cakey cookie. Not crunchy, but soft and chewy and sandwiched with a scrumptious filling. If you haven't tried one, your world is about to change. Makes 15 whoopie pies Ingredients: For the cookies 2 level cups of tiger nut powder 2/3 of a cup of arrowroot powder 1 level teaspoon of bicarbonate of soda A pinch of salt Just shy of 1 cup of melted coconut oil 4 dessert spoons of maple syrup 2 level tablespoons of gelatin powder. 3 dessert spoons of ground ginger 1 heaped teaspoon of cinnamon For the filling 1 cup of sifted tiger nut powder 2 tablespoons of coconut oil 1/4 cup of tiger nut milk Method: To make the cookies Pre heat your oven to 200 degrees or 180 for fan assisted. Line a baking tray with a sheet of baking parchment. Start by adding all the dry ingredients in a mixing bowl and thoroughly combine. In a separate bowl add the maple syrup to the melted coconut oil and stir to combine. Sprinkle the gelatin powder over the surface of the liquid and whisk immediately to ensure thoroughly combined with the liquids, you do not want clumps of gelatin! Pour the liquids into your dry mix and fold together. Fold slowly in a figure of eight whilst turning the bowl to ensure everything is completely combined until a dough forms. Use your hands to form small balls of dough, slightly smaller than a golf ball. Place these onto the baking sheet and use your hands to press them into biscuit shapes. They will spread slightly when cooking so leave some space between each biscuit. Put these in the middle of your oven and bake for 15-17 minutes. After this time they will be starting to turn golden brown. Remove from the oven and leave to cool and firm up. While the cookies are cooling you can make the filling. Add the powder and coconut oil to a blender and blitz until it forms a silky smooth nut butter. Add the milk and blend again until combined. Transfer this mixture to a bowl and leave to one side to firm up a little. Once the cookies are completely cool, spoon a little (or a lot) of the filling into the centre of one cookie and spread to the edges in an even layer. Sandwich with another cookie and voila! The perfect AIP whoopie pie. These will keep in an airtight container for up to 3 days. |
Emma CarterThis blog tells an ongoing story about me and my journey back to health and happiness. A boho soul always looking for my next European adventure. I am a Coeliac, Yogi, paleo advocate, dreamer, Bon jovi connoisseur, sun worshipper, snuggly jumper wearer and wife to my lovely Paulie. Archives
April 2017
Categories
All
|


 RSS Feed