Cinnamon porridge (AIP, low FODMAP, low histamine, Paleo)
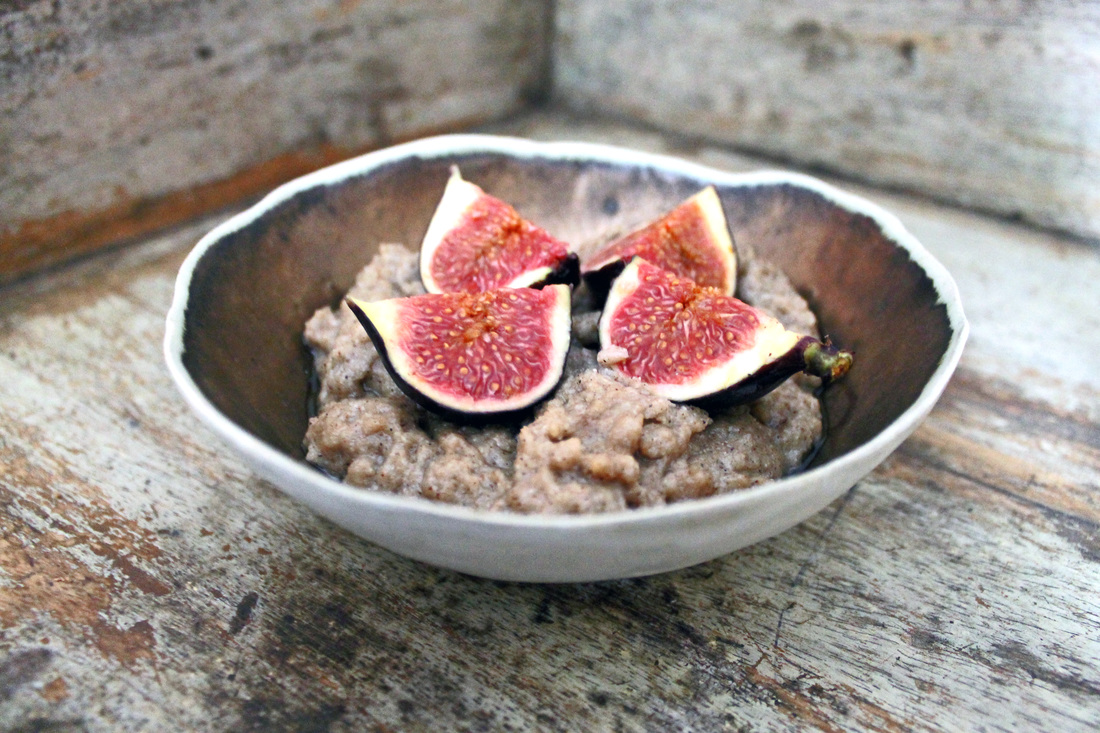
AIP breakfasts can be hard at the best of times. AIP, low FODMAP breakfasts are even more limiting. For me, a typical breakfast will often consist of leftovers from a previous dinner, or meat and salad. To many this is bizarre, but for me it is something I have become totally accustomed to. However, when summer is fading and cold mornings are creeping in, all I want is a nice warming bowl of porridge. I've been craving this so much recently I hit the Internet in search of an oatless alternative. Having attempted veggie based porridge previously, I was looking for something that tasted closer to the real thing. Creamy, sweet and a little on the stodgy side. I'm not one for a watery porridge.
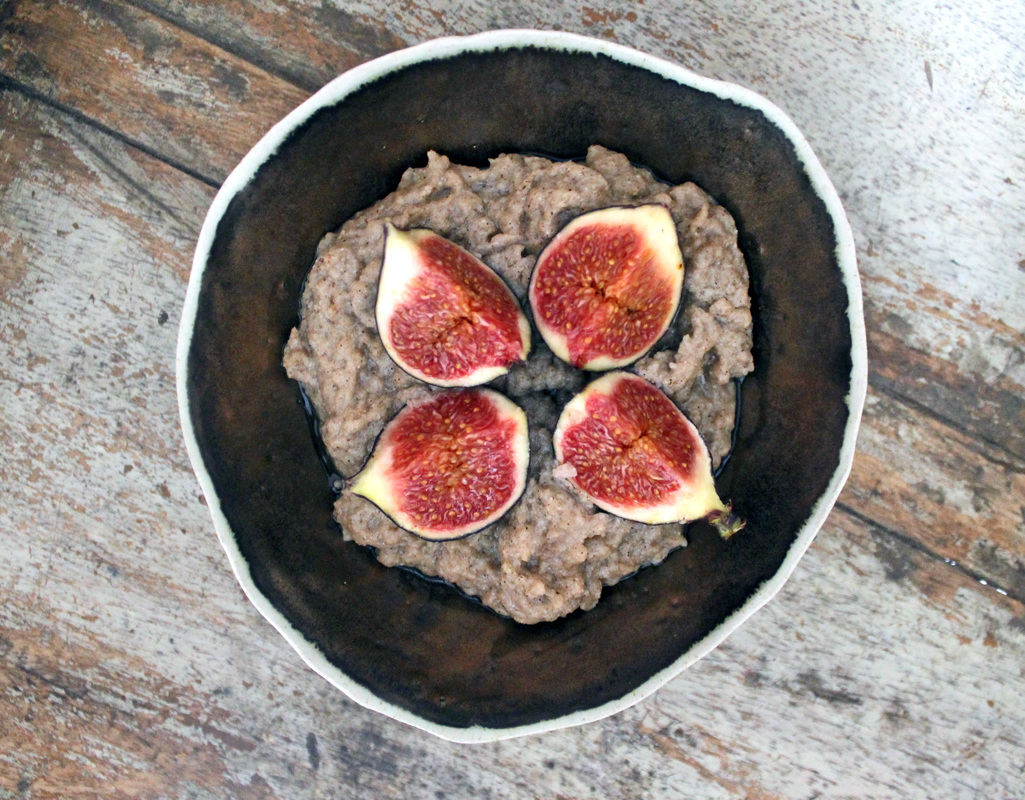
Having used water chestnut flour (also known as singhara flour) in a spectacularly disastrous attempt at making flat breads, I recalled reading about its traditional use as a medicinal porridge in Ayurvedic culture. The flour boasts an impressive array of nourishing health giving properties, vitamins and minerals. Rich in vitamin C, magnesium, calcium, iodine and iron, water chestnut flour is used traditionally to soothe digestive conditions, support thyroid health and used as a nourishing porridge for pregnant women. What's more exciting is that it is both low FODMAP and AIP complaint. You will find singhara flour on the shelves of your local international store or it is available online. I have posted a link below to the one that I use. Although costly - a little goes a very very loooooong way. This warming bowl of loveliness, is my adaptation on the traditional singhara porridge. Serves 3 or two generous portions Ingredients: 3/4 cup singhara (water chestnut flour) 1/4 cup tiger nut flour 2 and a half cups of tiger nut milk 4 tablespoons of coconut oil 2 tablespoons of maple syrup 1 tablespoon of cinnamon Method: Sift your flours together and mix thoroughly. Melt the coconut oil in a large saucepan over a low heat. Once melted, stir in your flour mix. Ensure that the flour is thoroughly combined with the oil - you should have a thick paste that will resemble almond butter. Pour in the milk and stir continuously. The flour will begin to absorb the milk and increase in size. Keep stirring until all the milk is absorbed. Add in your maple syrup and cinnamon. You will have a thick porridge consistency. Add more milk if you would prefer a thinner porridge. Serve immediately with topping of your choice. A side note...Too much water chestnut flour may contribute to bloating and constipation. If you have particularly sensitive digestion you may wish to start with smaller serves to test your tolerance.
https://www.thetigernutcompany.co.uk/shop/new-organic-tiger-nut-powder/
0 Comments
Gingerbread (AIP, low FODMAP, Paleo, gluten free, grain free)
Autumn is officially here and it's sparked a baking frenzy in my house. It's also sparked a heated debate on the texture of gingerbread. I haven't had gingerbread for a long long time, but memory tells me that they were always slightly soft and chewy inside. My husband however insists that they are crunchy. Google tells me that this debate is not restricted to our household but it seems to be a contentious issue worldwide. Further digging informs me that traditional gingerbread is in fact soft and chewy. 1 point to me. However in the making of edible decorations and houses it should be firmer and crisper. So I guess we're even. I probably won't tell him that though.
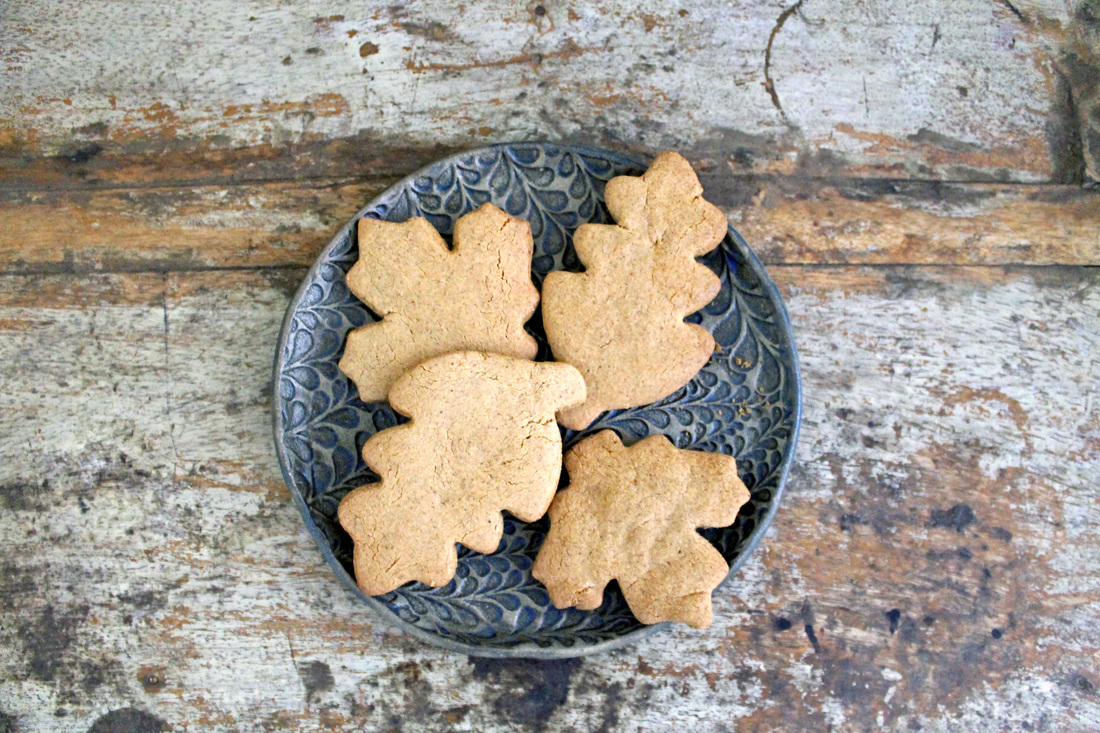
To accommodate both our gingerbread needs, I have made some slightly softer chewy gingerbread leaves to welcome Autumn in. I am also in the process of creating a Christmas e-book of allergen free, AIP and low FODMAP recipes which will feature a festive gingerbread house made from a crunchier gingerbread. In the meantime, enjoy these warming, spiced biscuits with a nice cuppa. This makes quite a considerable amount of dough. I was able to make 17 leaves from my dough. Ingredients: 2 cups tigernut powder plus two reserved tablespoons (see link below) Half a cup of arrowroot powder plus extra for dusting. 1 teaspoon of bicarbonate of soda 2 tablespoons of ground ginger 2 teaspoons of ground cinnamon 1/2 teaspoon of ground mace A pinch of ground cloves A pinch of salt A teaspoon of vanilla powder Half a cup of maple syrup Half a cup of melted coconut oil (see link below for my favourite) 1 tablespoon of gelatin (see link below for my favourite) 2 tablespoons warm water Equipment: Baking paper Gingerbread/cookie cutters rolling pin large oven tray 2 mixing bowls Whisk Method: Preheat your oven to 180 degrees for fan assisted. In a mixing bowl sift together your tigernut flour and arrowroot. Add your ground spices, bicarbonate of soda, vanilla and salt. Mix throughly so the spices are incorporated evenly throughout the flour. In a separate bowl add your maple syrup and melted coconut oil. Add two tablespoons of warm water and sprinkle your gelatin across the surface of the liquid. Whisk immediately to avoid the gelatin clumping together. Slowly stir your liquids into your dry mix a little at a time until fully combined. You should have a firm dough that does not stick to your hands. If your dough is too sticky, add some of the reserved tigernut flour to firm the dough up. Unlike regular gingerbread dough, you do not need to leave this to rest, you want to work fairly quickly. Sprinkle arrowroot powder over your work surface to prevent your dough from sticking. Using a rolling pin, roll your dough out evenly to the thickness of a pound coin. Using your chosen cookie cutters, cut your gingerbread shapes from the dough and transfer to a large oven tray lined with baking paper. Leave an inch between biscuits to allow for them to expand a little during cooking. Bake these towards the top of the oven for 10-12 minutes. They should be golden brown and firm to touch without being too hard. Leave these to cool then devour instantly.
https://www.thetigernutcompany.co.uk/shop/new-organic-tiger-nut-powder/
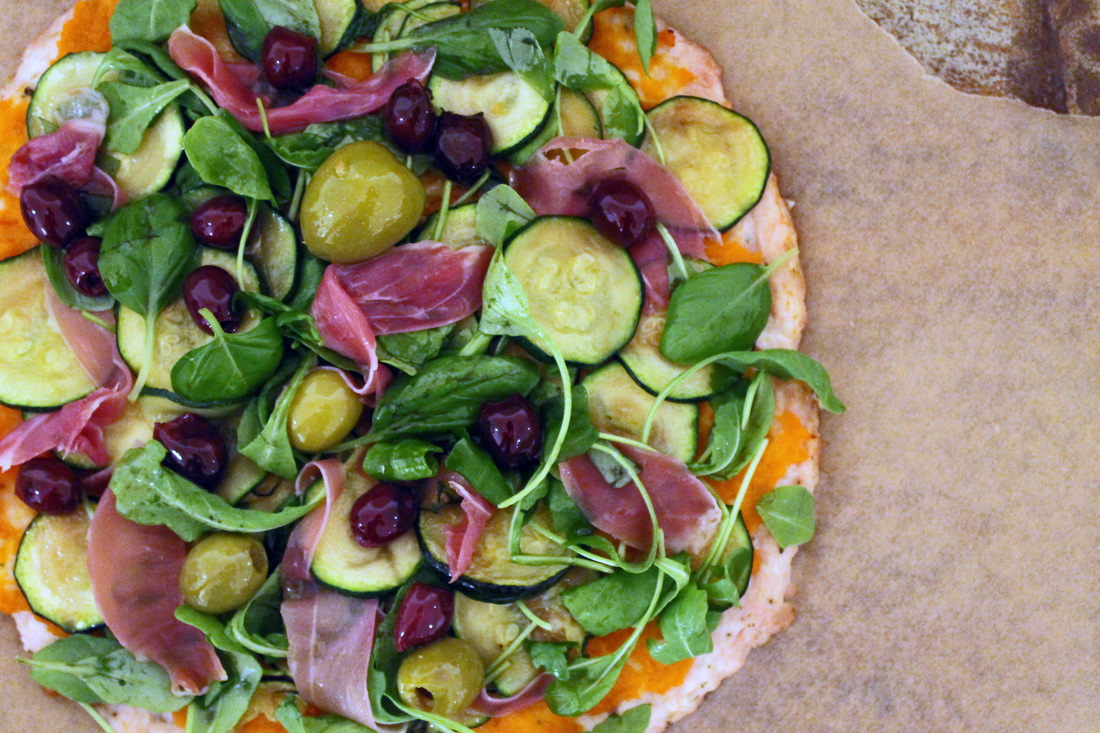
Meatza (Paleo, AIP, low FODMAP)Pizza, pizza, pizza. What a glorious culinary creation. For those with multiple food intolerances pizza is often off the menu. And this makes me sad. I am currently working on developing a low FODMAP, AIP pizza base. I want a proper crust, none of this gluten free supermarket nonsense that has as much appeal as waterlogged cardboard and is full of inflammatory gut aggravating ingredients.
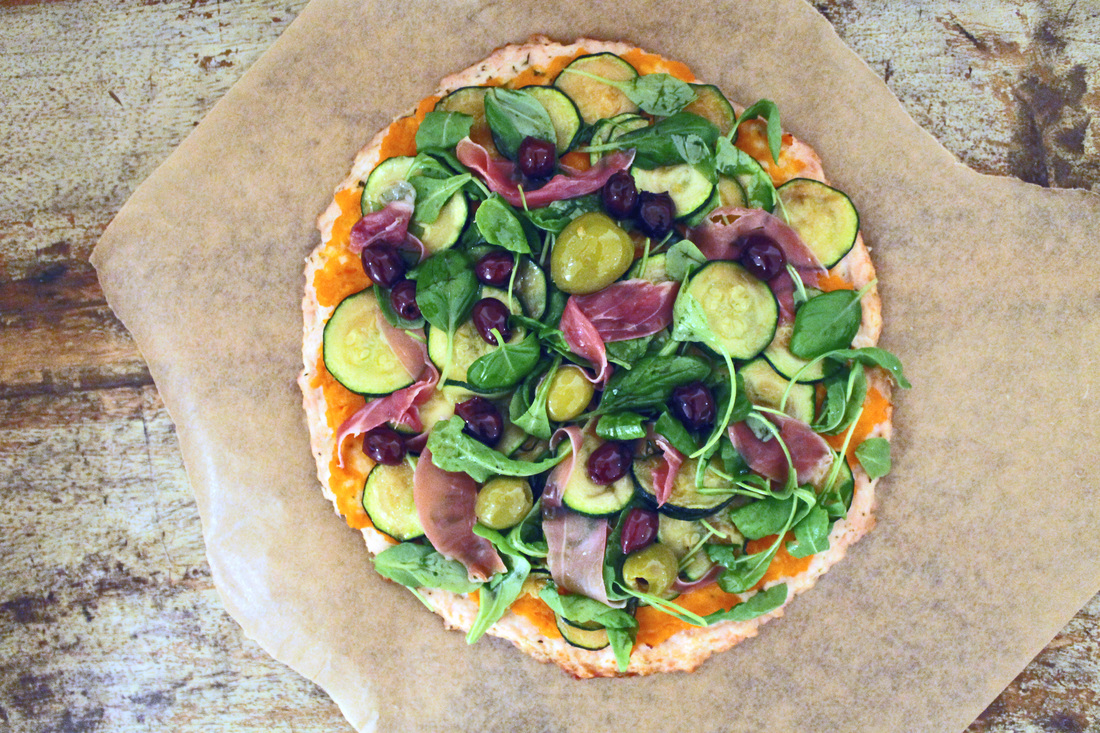
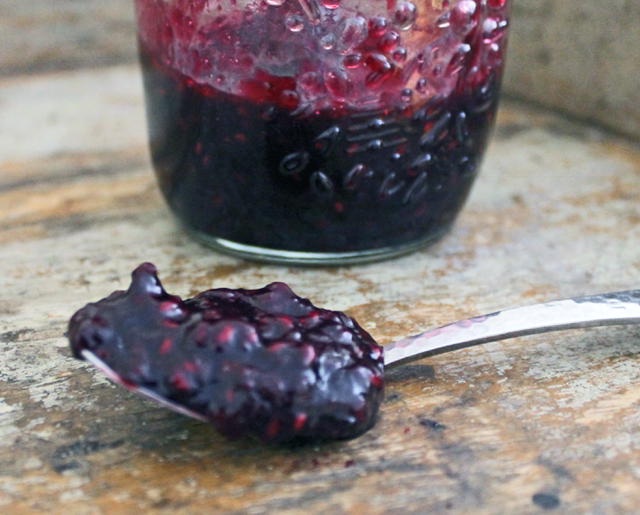
In the meantime though to fill the void there is always meatza. Now don't be deceived, this is a base of ground meat - not a doughy crust, However it is a great vehicle for all your favourite pizza toppings, and even tastes good the next day. I have been known to have a slice or two for breakfast. To make one meatza Ingredients: For the base 500g minced turkey 1 tablespoon of mixed dry italian herbs 1 dessert spoon of garlic or basil infused olive oil A good pinch of himalayan or sea salt For the toppings 2 tablespoons of my AIP tangy salsa Obviously you can get creative and add any toppings you choose, I have included on mine: Mixed spanish olives Half a courgette diced and sautéed lightly in coconut oil A good handful of fresh rocket leaves A fistful of fresh basil leaves 2 strips of parma ham Method: Pre heat your oven to 200 degrees or 180 for fan assisted. In a large bowl combine turkey mince, dried herbs, salt and your choice of infused oil. Combine the ingredients thoroughly with your hands to ensure the herbs and oil is evenly distributed throughout the mince. Transfer your mince mixture to a large baking tray and press into a large circular shape to form your base. You will want this to be about 1cm thick. Bake this in the oven for 15 minutes. Remove from the oven and drain any excess liquid off the tray. Spoon your salsa evenly across the surface of your base and add your choice of toppings that are to be cooked. I pre sautée my courgette to ensure it does not dry out in the oven and is nice and moist. Place the base back in the oven for another 10 minutes to finish cooking the mince and your toppings. Remove from the oven and add any additional uncooked toppings such as basil and drizzle with olive oil. This is scrummy on its own, served with a side salad or swede chips. Raspberry and blueberry jam ( AIP, low FODMAP, Paleo)Jam is just the easiest thing to make and this one tastes exactly like the one I had as a child. The best part is that you can utilise this in your AIP baking for a fruity burst of flavour. If you are really lucky and can tolerate nut butter, you can create your own PB and jelly.
This makes a good half jar portion. You can double the quantity if you want more, but I find this goes a long way if you are limiting the fructose on an AIP or low FODMAP diet. Ingredients: 150g raspberries 150g blueberries 1/3 cup maple syrup Tablespoon of lemon juice Method: Put all ingredients in a medium saucepan over a medium high heat until boiling. Stir continuously for roughly ten minutes to prevent sticking - it will be boiling rapidly as it liquifies. After ten minutes reduce the heat right down so it is bubbling gently. Let this bubble for around 7 minutes as the liquid reduces by almost half and you are left with a thick fruit jam. Let this cool and transfer to an airtight container and refrigerate. This will thicken further once chilled. Raspberry and blueberry streusel shortcake (Paleo, AIP, low FODMAP, gluten free, dairy free, egg free)
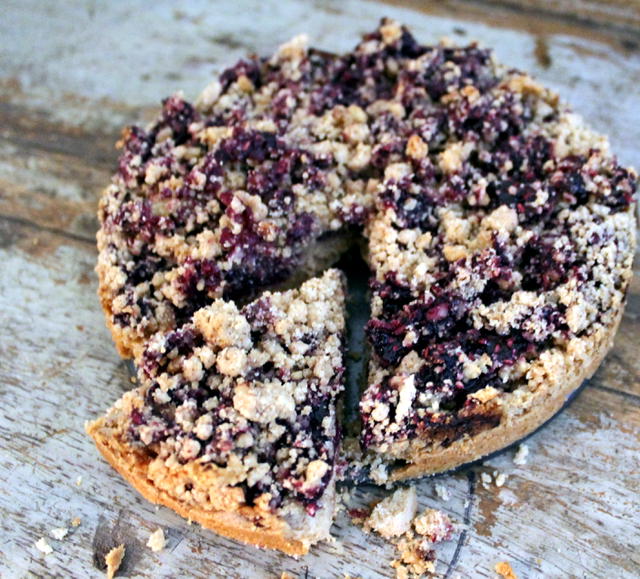
This lovely little treat happened entirely by accident. I had over ambitiously set out to make flapjacks with a streusel topping. When it became apparent that my oat-less flapjack was going nowhere other than the bin, I whipped up a crumbly shortcake base to hold my jammy, streusel topping. There's nothing more satisfying than salvaging a baking disaster by creating something even more delicious.
Ingredients: For the base 1 cup of tigernut flour (see link below) 2 tablespoons of arrowroot powder 3 tablepoons of melted coconut oil 2 tablespoons of maple syrup Half a jar of my raspberry and blueberry jam For the streusel topping 8 tablespoons of tigernut flour 2 tablespoons of coconut oil 1 tablespoon of maple syrup A pinch of salt Equipment: You will need a loose bottom cake tin or baking tray. I used a round 15 inch tin. Preheat your oven to 200 degrees, 180 for fan assisted. Method: To make your base sift the tigernut flour and arrowroot into a mixing bowl, add your melted coconut oil, syrup and mix to form a dough. Press your dough firmly into the base of your cake tin to form an even layer. This will be about1.5 cm thick. Place this in the centre of you oven and let it bake for 15 minutes until it starts to turn golden brown. While the base is cooking you can make the topping. Place all the topping ingredients in a mixing bowl and run a fork through the mixture to combine the ingredients and create a crumb like texture. You don't want to break the pieces up too much, its nice to have some bigger chunks in there! When your base is ready, remove it from the oven and spoon over a thick even layer of jam, covering the entire base. Crumble your streusal mixture over the top of this and return the tray to the oven for a further 20 minutes. When it is ready the crumble should be golden and your jam should be starting to bubble. Leave this to cool entirely before removing from the tray. This allows the shortcake base to firm up. All that remains is to get the kettle on and enjoy a slice.
https://www.thetigernutcompany.co.uk/shop/new-organic-tiger-nut-powder/
|
Emma CarterThis blog tells an ongoing story about me and my journey back to health and happiness. A boho soul always looking for my next European adventure. I am a Coeliac, Yogi, paleo advocate, dreamer, Bon jovi connoisseur, sun worshipper, snuggly jumper wearer and wife to my lovely Paulie. Archives
April 2017
Categories
All
|



 RSS Feed