The benefits of grass fed meat
I have to confess to being disgustingly ignorant to this subject when I first set out on my Paleo journey. I thought all meat was born equal, but was perhaps a bit more fancy if it came from Marks and Spencers. I was so so very wrong. My red meat intake was virtually non existent before I transitioned to a Paleo diet but it only took a few months to notice a vast improvement in my health once I started regularly consuming high quality meat. Aside from the fact that grass fed meat has a considerably better taste and texture, it also wipes the floor with conventional meat when it comes to nutritional value.
Grass fed animals are free to roam and graze, consuming from the land and eating a natural diet of grass and the occasional tasty insect. In being allowed to eat and live this way they are receiving a nutritionally balanced diet and are well cared for, which is apparent in the superior quality of the meat. Conventionally raised animals are fed an unnatural diet of grains devoid of vital nutrients. This is not only reflected in the health of the animal but also the poor the nutritional composition of the meat they produce. Conventionally raised meat is also treated with antibiotics and injected with hormones. I don't know about you but i'd rather pass on a dinner raging with hormones. In comparison to conventionally raised grain fed meat, grass fed meat offers these nutritional benefits in significant quantities: Considerably higher levels of Omega 3 Free from hormones Considerably higher levels of CLA (conjugated linoleic acid). CLA is a powerful antioxidant shown to exhibit cancer fighting properties. Greater levels of vitamins and essential minerals. Grass fed meat contains much higher levels of vitamin E, vitamin C, beta carotene, potassium, calcium, zinc, iron and magnesium. Organic or grass fed? It is also worth noting that buying organic meat is not the same as grass fed. This was something else that I was blissfully ignorant to when I started out on my Paleo diet. If meat is labelled organic, that does not mean that it is free to roam and forage, it may simply mean it is fed a diet of organic grains. We are then left with 'organic' meat devoid of nutrients. Where do I buy my grass fed meat? Firstly do not be put off looking into grass fed meat by the cost. Yes, it can be more expensive but like a good pair of shoes, you get what you pay for. Better taste, better quality, higher animal welfare and richer nutritional content. I buy all my meat from athleat, a company that truly understands the importance of high quality meat and the contribution diet makes to health. They are incredibly knowledgable and their customer service is excellent. The company is based in Glasgow and deliver throughout the UK and even to Europe. The price for the quality is fantastic, and if you order on repeat you will get a discounted rate. If you become a regular customer you will find that you may not be paying much more than you would for supermarket meat, in fact in some cases it may even be less. I assure you its worth every penny - you can't put a price on your health after all. The lovely people at Athleat have kindly allowed me to share a discount with you also, so as a new customer you will receive £10 off your first order over £50 (see link below). I highly recommend checking them out - you really will notice a huge difference in flavour and quality.
1 Comment
Warm minted broccoli and courgette dip (Paleo, AIP, low FODMAP)
I love broccoli. It is highly nutritious, packed with vitamin C, vitamin A, calcium and boasts an impressive array or anti cancer and anti viral properties. Broccoli however does not reciprocate my love. In large quantities it leaves me in digestive discomfort and emotional turmoil. As FODMAPS culprits go, its well up there.
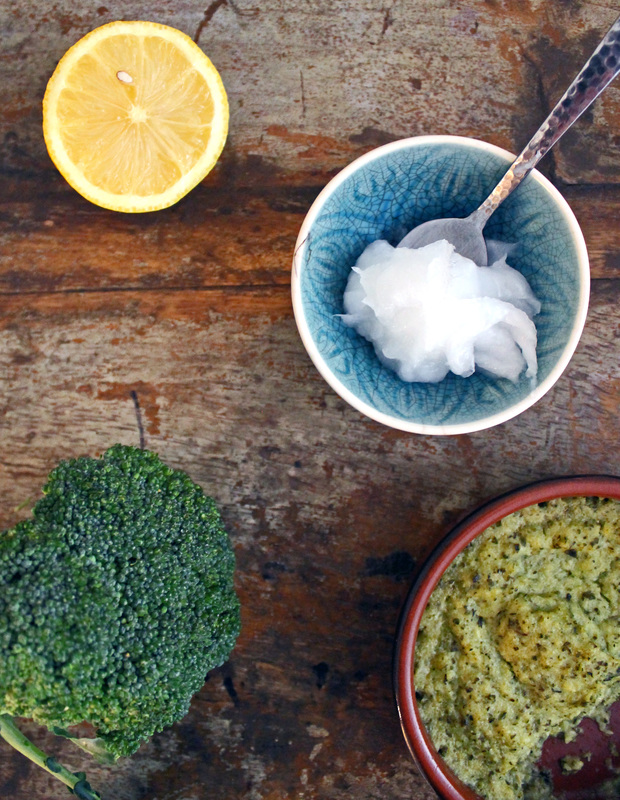
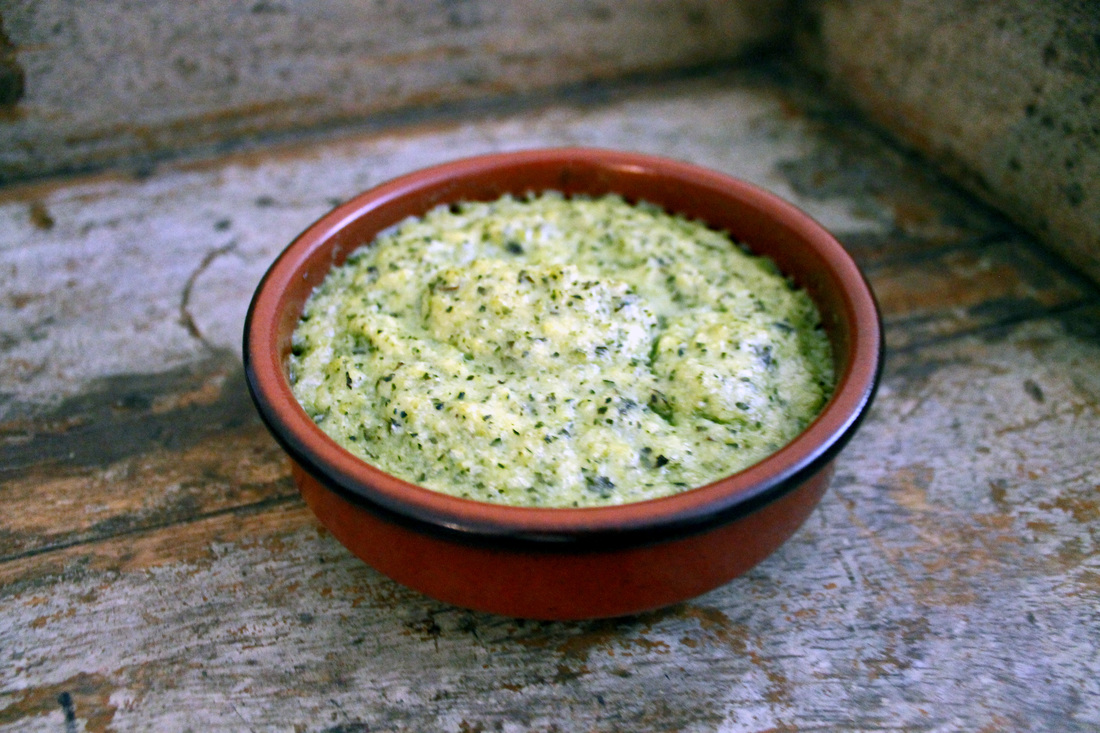
However, those beautiful people at Monash University responsible for developing the low FODMAP diet have tested the FODMAP content of this nourishing vegetable for us and deemed it to be low in small portions. Hooray! Half a cup is suggested a safe limit for someone with FODMAP intolerance but you may want to add this into your diet in smaller portions if you have a super sensitive tum. Armed with this knowledge there was no way I was going to carry on depriving myself of all the benefits that come from this lovely little vegetable. Better still I was going to get creative with it and a few more nourishing ingredients. Et voila, my minted broccoli and courgette dip was born. This is perfect served hot as a side dish, served cool as a dip for raw veggies, or even as a coating for some oven baked chicken. Serves 4 Ingredients: 2 cups of broccoli (dividing the dip into 4 once cooked will give you a low FODMAP portion) 2 medium courgettes thinly sliced into discs. Two fistfuls of fresh mint leaves. Mint has great digestive supporting qualities, relieves muscle pains and alleviates allergy symptoms. The juice of one whole lemon. Packed with vitamin C, magnesium, potassium, folate and vitamin B6. 2 tablespoons of coconut oil (see below link for my favourite coconut oil) 2 tablespoons of garlic oil a good pinch of sea salt or pink Himalayan salt Equipment: Food processor/hand held blender Saucepan Baking dish or four ramekins Method: Heat your oven to 200 degrees or 180 for fan assisted. In a small saucepan, boil your broccoli pieces until just cooked. You want it Al dente and not too soft. Once this is cooked transfer to your food processor or blender, leaving half a cup of water in the saucepan. To the blender add the coconut oil, mint leaves, garlic oil, lemon juice and salt. Add your sliced courgette to the hot water in the saucepan and cook on low/medium for about five minutes until it begins to soften. Again you do not want to overcook this. Once cooked, transfer your courgettes to the blender along with a tablespoon of the water from the pan. Pulse for about 40 seconds to 1 minute. You want the mixture to be well combined and thick with a bit of texture still. You do not want to over blend the mixture so it becomes runny. Taste the mixture and add more salt, lemon of garlic oil to taste. Once your mixture is at a thick and almost smooth consistency, pour into a baking dish or separate into four individual ramekins. This way you are ensuring you have a low FODMAP portion. Bake at the top of the oven for 15 minutes until bubbling and starting to turn golden on top. Tangy salsa sauce (Paleo, AIP, low FODMAP, low histamine)
AIP, low FODMAP, low histamine tangy salsa relish
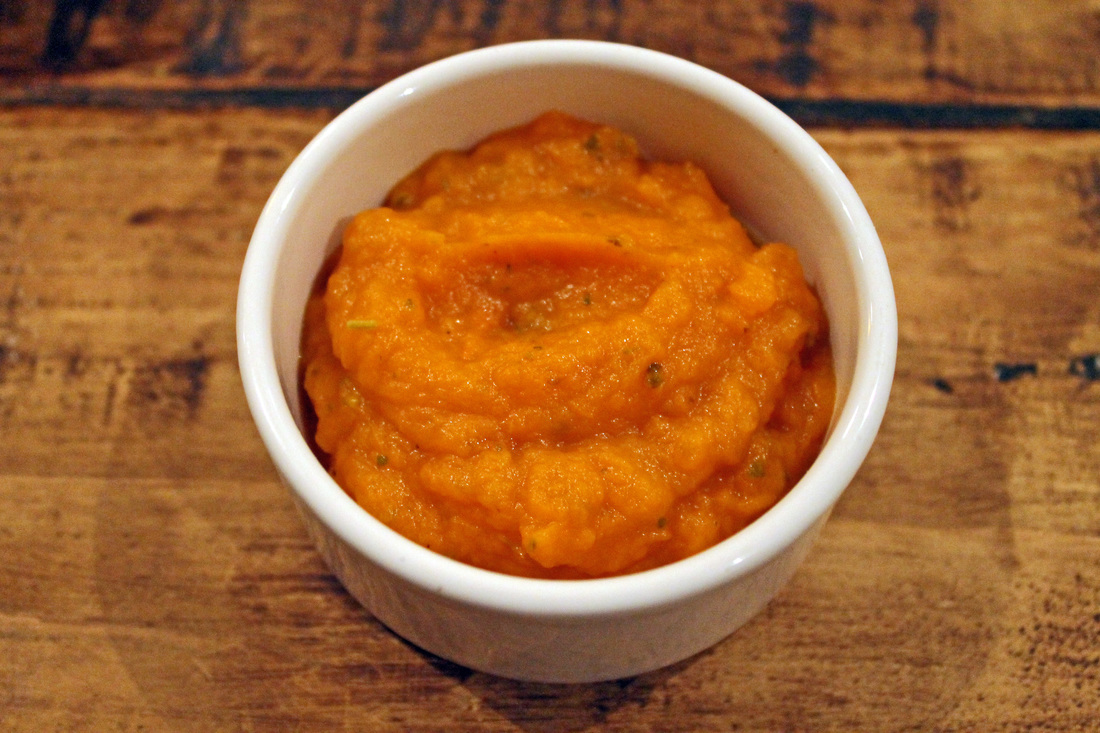
This has become a multi purpose staple for me in the absence of anything tomato based. You can use it to add a bit of flavour and thickener to sauces, on a meatza, as a burger relish and a general dipping sauce. Ingredients: 1 squash, halved and de-seeded. A sweet squash is best here such as a coquina. These are becoming more readily available in supermarkets. I have been able to get them from Waitrose, M&S, Ocado and Sainsburys. A quarter teaspoon of ground cloves A teaspoon of lemon juice A pinch of salt Optional: A tablespoon of garlic oil A tablespoon of coconut oil Dried herbs This is very versatile and you can add or subtract ingredients depending on what you need it for. To make the basic tangy salsa, preheat the oven to 200 degrees (180 for fan assisted). Roast your squash cut side face down for 50 minutes until soft. Scoop the flesh out of one half and add to a food processor with the cloves, lemon juice and salt. Blitz this together until you get a smooth thick sauce. Taste and add more seasonings as needed. If you want a thicker version to dip into like a hummus, omit the cloves and add a tablespoon of coconut oil and a tablespoon of garlic oil. Place this in the fridge to chill. The coconut oil will thicken to form a creamy dipping sauce. For a meatza sauce, follow the original recipe and add a tablespoon of garlic oil and some Italian herbs. You only need one half of the squash to create a good amount of dip/sauce. You can then utilize the other half of the squash in a different recipe. Cottage pie (Paleo, AIP, low FODMAP, low histamine)
When I was a baby my Grandmother used to bring me miniature portions of her freshly cooked meals in little ramekin dishes. Everything was homemade and full of natural goodness, and my absolute favourite dish was her cottage pie.
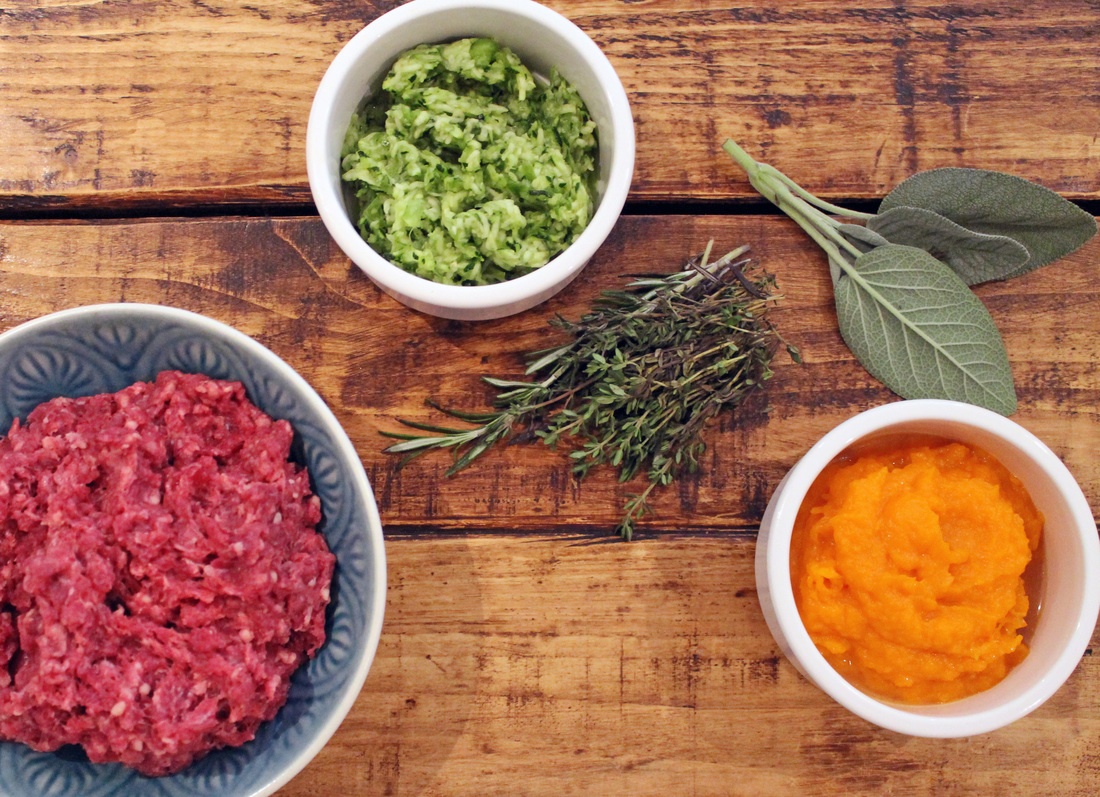
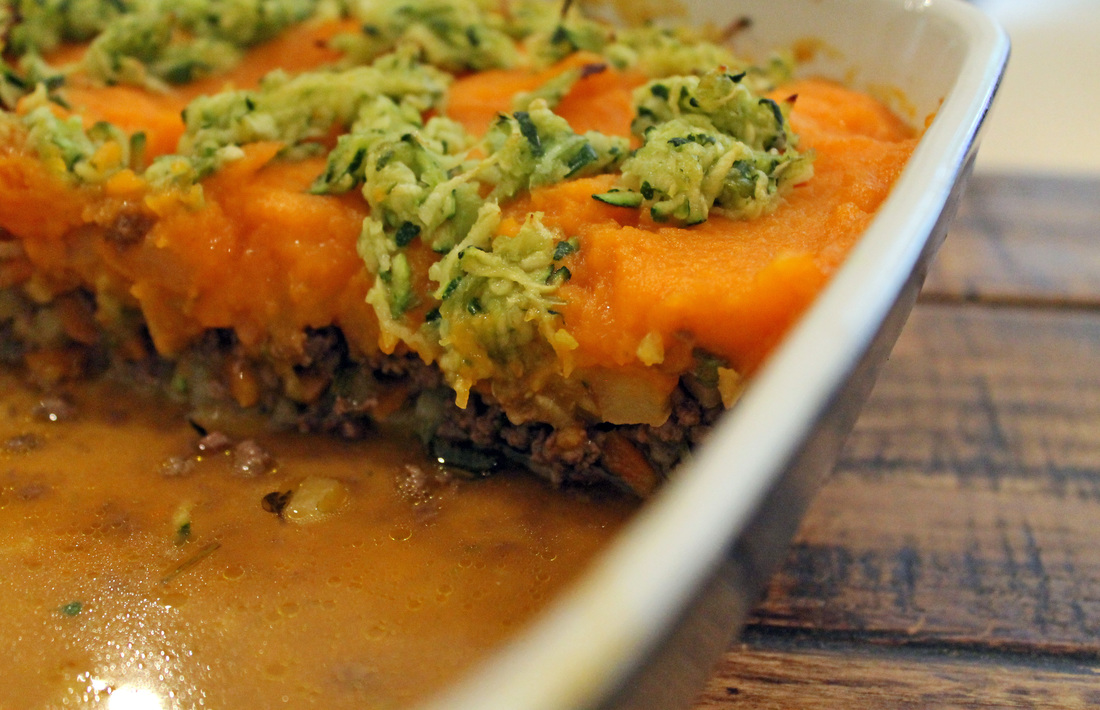
Once the baby years were well and truly behind me I developed a taste for lazy cooking and microwaveable meals. Why spend the time slaving over a hot stove creating a cottage pie when you can microwave instant noodles? The valuable lessons here are: A. nutrition and its profound effect on your health. B: Grandma is always right. A cottage pie can be rich with nourishing ingredients to support your health. Better still, an AIP cottage pie can contribute to healing. Simply put, instant noodles will not. I have experimented with a few AIP, low FODMAP cottage pie recipes, but this is by far my favourite and tastes closest to the real thing. The hardest part is omitting the tomato and potato, but with some clever substitutions you can re-create almost anything. This version has a rich sauce packed with flavour and nutrition. This one's for you grandma. I have listed the ingredients below with a few cheat options if you are short on time. Otherwise, do the whole shebang; it’s really worth it. You can make this with beef for a scrummy, warming cottage pie or for an even richer dish you could create a shepherds pie by switching the beef for lamb. Serves 4. Can be re-heated thoroughly or enjoyed cold. Ingredients For the filling: 450g Minced grass fed beef or lamb - Grass fed meat is rich in omega 3 acids, B vitamins, magnesium, calcium, iron, Vitamin E and Vitamin A. 3 large carrots, diced into tiny cubes. Rich in Vitamin A and beta carotene Half a swede, diced into tiny cubes. A cruciferous vegetable rich in antioxidants and cancer fighting compounds. One whole onion or two leek tops (green parts only) for low FODMAP. Finely sliced. Being part of the same family, leeks offer many of the same health benefits as onions such as cancer fighting and heart protecting properties. Cheat – grate the carrots, leeks and swede in a food processor for a finer texture 275ml bone broth or reserved cooking liquid (see below) Bone broth is anti-inflammatory and heals and seals a damaged gut. Sea salt or pink Himalayan salt. Natural unprocessed salt should not be tarred with the same brush as table salt. Natural salt is packed with essential trace minerals. One tablespoon chopped fresh rosemary. Anti-bacterial, anti-inflammatory and anti-oxidant. One tablespoon chopped fresh thyme. An excellent source of vitamin C and fights infections. One tablespoon chopped fresh sage. A rich source of fibre and minerals. Supports cognitive function. One tablespoonAIP tangy salsa Two tablespoons Garlic oil One tablespoon of AIP friendly flour. I use tigernut flour, as it is one of very few flours that are both AIP and low FODMAP. Tigernuts are a rich source or iron, magnesium, potassium and many other minerals as well as being a good source of healthy fats. For the topping: One whole squash, halved and de-seeded. Coquina, acorn or queen squash for low FODMAP. Winter squash is packed with vitamin C and vitamin A, and is a great source of starchy carbs on an AIP diet. One tablespoon coconut oil. Anti-inflammatory, anti-microbial, anti-fungal, great source of fats, all round good guy. Sea salt or pink Himalayan salt Optional additional topping: I use this to cut through the sweetness on the squash topping. One whole courgette, grated. High in fibre and rich in antioxidants. One leek top – green parts only. Very finely sliced. Sea salt or pink Himalayan salt Teaspoon of lemon juice Equipment: A food processor for cheat options One large lidded frying or saucepan One baking tray/casserole dish Method: Pre-heat the oven to 200 degrees or 180 for fan assisted. Place your halved squash cut side down on an oven tray and bake for 50 minutes. After 50 minutes your squash should be totally softened. Scoop out the flesh into a bowl, and add a tablespoon of coconut oil and a pinch of salt. Give this a good mash until smooth and leave to one side. For the optional topping: I add this to the top of my mash to cut through the sweetness of a coquina squash, it adds an extra flavour element but also helps to create a cooking liquid if you are not using broth. Combine your courgette and leeks in a sieve over a bowl and sprinkle with a good pinch of salt and a teaspoon of lemon juice. Give these a good stir to combine and you will see the juices collect in the bowl. You can stir this intermittently and push the juices through the sieve. When you are ready to add liquid to your filling, use this topped up with water to make 275ml. While your squash is cooking, heat two tablespoons of garlic oil in a large saucepan over a low heat and add your sliced leeks/onion. Allow them to soften for 5-6 minutes before adding your cubed carrots and swede. Give these a good stir to ensure they are coated in the oil and let them soften over a low heat for 6 minutes. Remove the vegetables from the pan and add in your mince. Crank the heat up a little and brown the mince all over, breaking it up as it cooks. Once the mince is browned add your vegetable mix back in along with your chopped herbs. Add in a tablespoon of the tangy salsa puree and your AIP flour of choice. Give this a good stir so the flour starts to absorb the cooking juices. Gradually pour in your bone broth or reserved cooking liquid and throw in good pinch of salt. Stir everything thoroughly and turn the heat down to low. Put a lid on the pan and let it cook slowly for 25 minutes. After 25 minutes, transfer your mince mix to an ovenproof casserole dish and spoon your squash mash evenly over the top. If you have used the additional leek and courgette mix, sprinkle this across the top. Place this in the oven for 25 minutes and serve with steamed green vegetables or a summer salad. This is a great one to make at the weekend and put half to one side as a ready-made dinner for the week. Enjoy! Layered chicken bake (Paleo, AIP, low FODMAP, low histamine)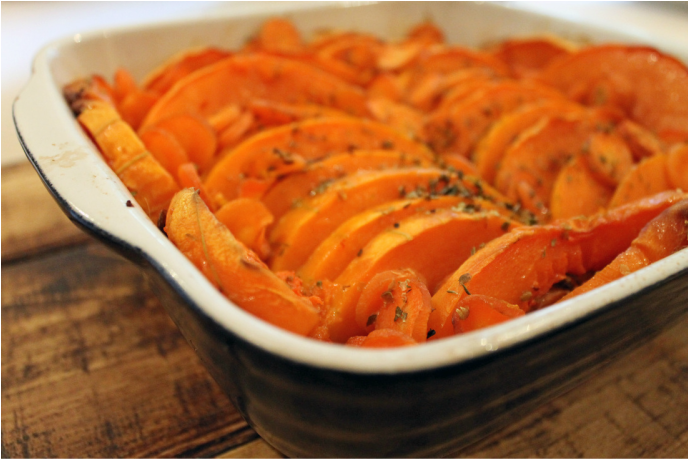
When I started writing this blog, I had several aims in mind. The main one being to share my story and my experiences. What I never intended to do was share recipes. I have never been much of a cook, in fact at times my cooking skills have left a lot to be desired. I spent many a year thinking the height of fine dining was sandwiching potato waffles with melted cheese. Waffle, cheese, waffle and repeat. Due to my drastic lifestyle change spending time in the kitchen and brushing up on some skills has became non –negotiable.
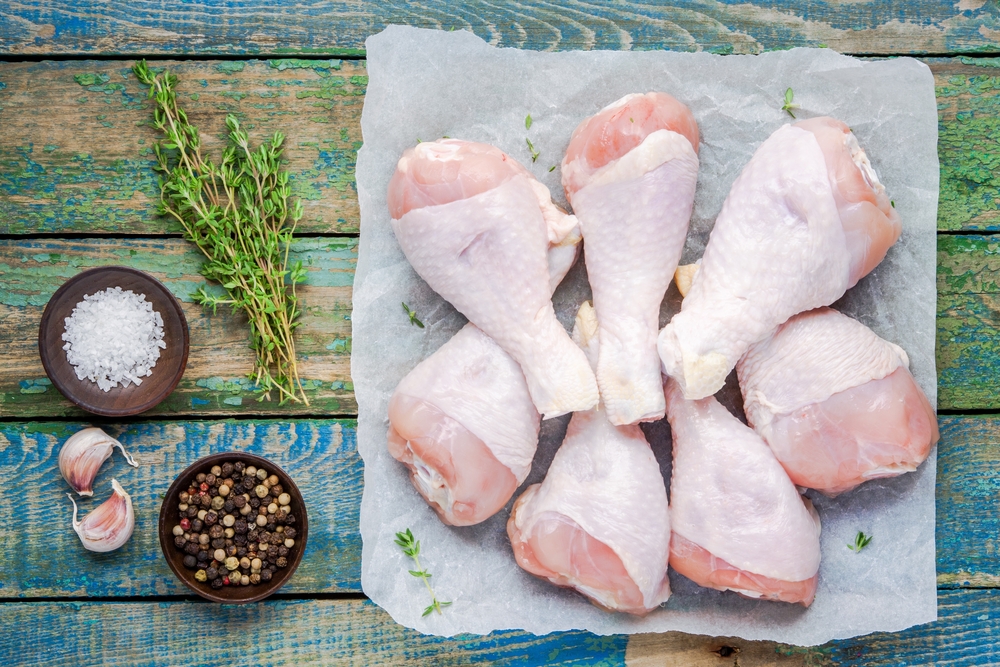
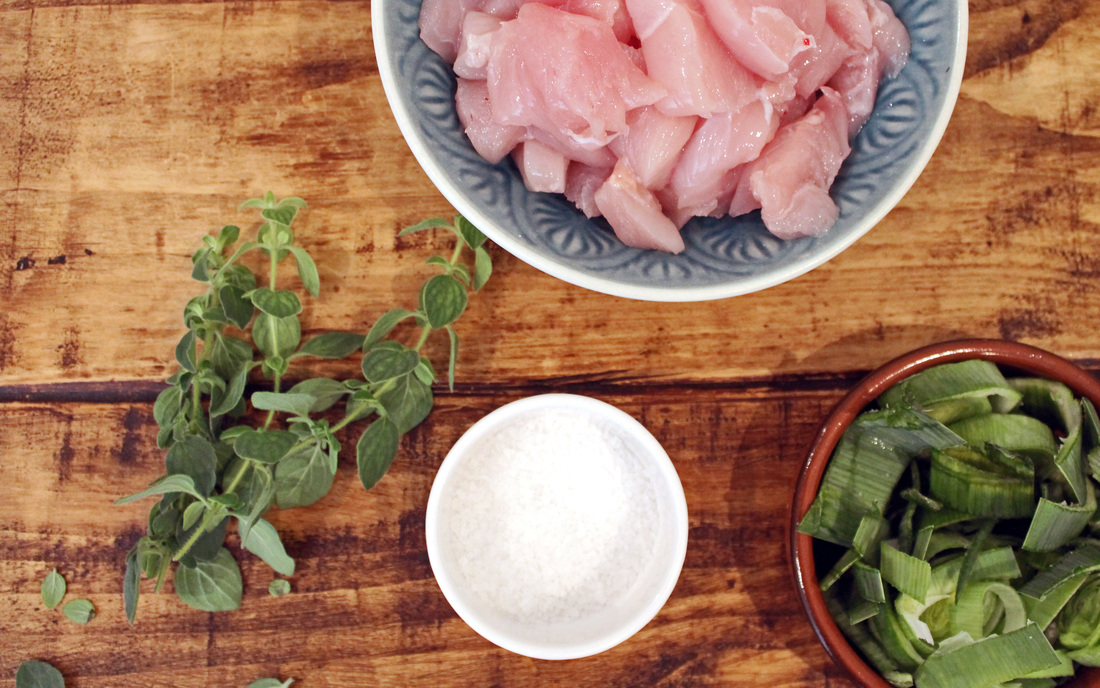
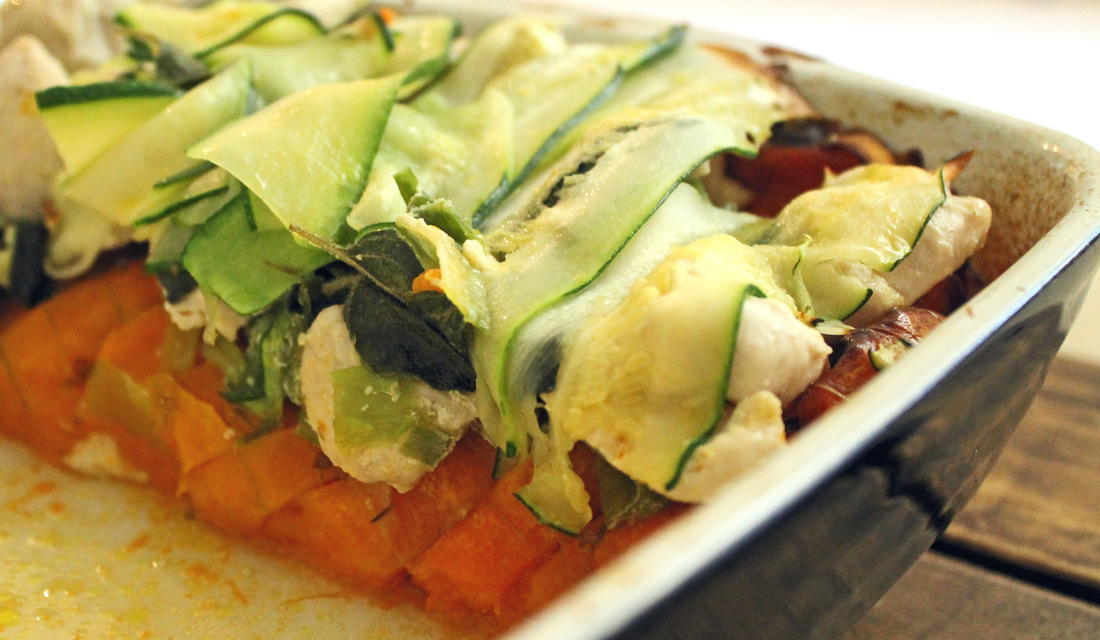
Given that I have found the AIP to be life changing I felt the need to share some recipes. What’s more, there is a severe drought of low FODMAP, AIP recipes – especially from the UK. So here I am, sharing some of my creations. God help you all. Layered chicken bake Serves 4, or two very hungry people. This can be re-heated thoroughly or even cold as a lunch with salad. This recipe is Paleo, AIP compliant, low FODMAP and low histamine. I have included optional variations where available. Ingredients 1 whole squash – for low FODMAP, use a coquina, onion or queen squash. If you are not low FODMAP a butternut squash or sweet potatoes would be a good substitute. Peeled and de-seeded and sliced into half moon shapes about 1 cm thick. 3 large carrots, sliced into discs. 3 tablespoons of garlic oil - this is low FODMAP! The fructans in garlic are soluble in water but not oil, making garlic oil a low FODMAP flavour godsend. One whole leek or for low FODMAP use 2 leek tops (green parts only) 4 chicken breasts diced into chunks One large courgette finely sliced into wide strips 2 tablespoons of extra virgin olive oil 2 tablespoon of coconut oil 3 tablespoons of bone broth or water 1 teaspoon of dried oregano A fistful of fresh oregano A fistful of fresh sage leaves Sea salt or pink Himalayan salt What do you need: A large oven proof baking tray/dish Frying pan Cheese slice Method: Pre-heat your oven to 180 degrees fan assisted or 200 degrees on a regular setting. Start by layering your squash slices across the bottom of your baking dish. These need to overlap slightly but not completely cover each other to ensure they cook through. Arrange your sliced carrots in between any gaps in the squash. Sprinkle the squash and carrots with a good pinch of salt, a teaspoon of dried oregano, 2 tablespoons of extra virgin olive oil, one tablespoon of coconut oil and 3 tablespoons of bone broth. If you haven’t braved the broth just yet, you should. But in the mean time, water will suffice. Pop this in the oven to bake for 50 minutes to an hour. Check on it at intervals and gently move the veg if necessary to ensure it is all coated and cooking but retain the flat layer. In the mean time slice your courgette with the cheese slice so you have wide strips and leave to one side. Ten minutes before your squash is ready, sautee your sliced leeks in a tablespoon of coconut oil and as they begin to soften add your diced chicken, 2 tablespoons of garlic oil and a good pinch of salt. You want to only just cook the chicken through so it is still soft and tender. Once the chicken is just about cooked and the leeks are softened, your squash should be ready. It should be soft and starting to caramelise around the edges. Remove the squash from the oven and layer your chicken and leek mixture on top including all the juices from the pan. The garlic oil will infuse with the juices from the roasted squash to form a sweet, garlicky sauce. Place your fresh sage and oregano leaves in around the chicken pieces. Cover your bake with your thinly sliced strips of courgette and drizzle with the remaining garlic oil. Place this back in the oven to finish cooking for 15 minutes. The bake is ready once the chicken is piping through and the courgettes are softened on top. This could be served with a salad or some steamed kale. Bon appetit! |
Emma CarterThis blog tells an ongoing story about me and my journey back to health and happiness. A boho soul always looking for my next European adventure. I am a Coeliac, Yogi, paleo advocate, dreamer, Bon jovi connoisseur, sun worshipper, snuggly jumper wearer and wife to my lovely Paulie. Archives
April 2017
Categories
All
|




 RSS Feed