Anti-inflammatory rosemary flatbreads (AIP, low FODMAP, Paleo, low histamine, gluten free, grain free)
Making my own bread has been a long time coming. With so many dietary restrictions in place I often find that with most AIP bread recipes, I will tolerate one ingredient but not the other. But I hands down refused to accept that there was not a bread out there for me. A little while back I had experimented with water chestnut flour to create a warming bowl of porridge adapted from a traditional Indian recipe, and recalled seeing the flour also used to make traditional flatbreads. After a good googling, I stumbled across a few recipes for water chestnut flour breads and pancakes calling for little more than water chestnut flour, water and oil. How delightfully simple, I rejoiced. Now, you may have come across these recipes already. If you have tried them and successfully made them, I salute you. In fact I am in awe. As to how you achieved this I cannot even begin to comprehend. After several attempts at these my entire (and not all that cheap) bag of water chestnut flour ended up in the bin in a hideous gloopy, gungy mess. I've seen the evidence and I've seen the photos. I do not doubt that people are able to produce these gloriously fluffy, light breads with a mere few ingredients, but alas, I am not one of them.
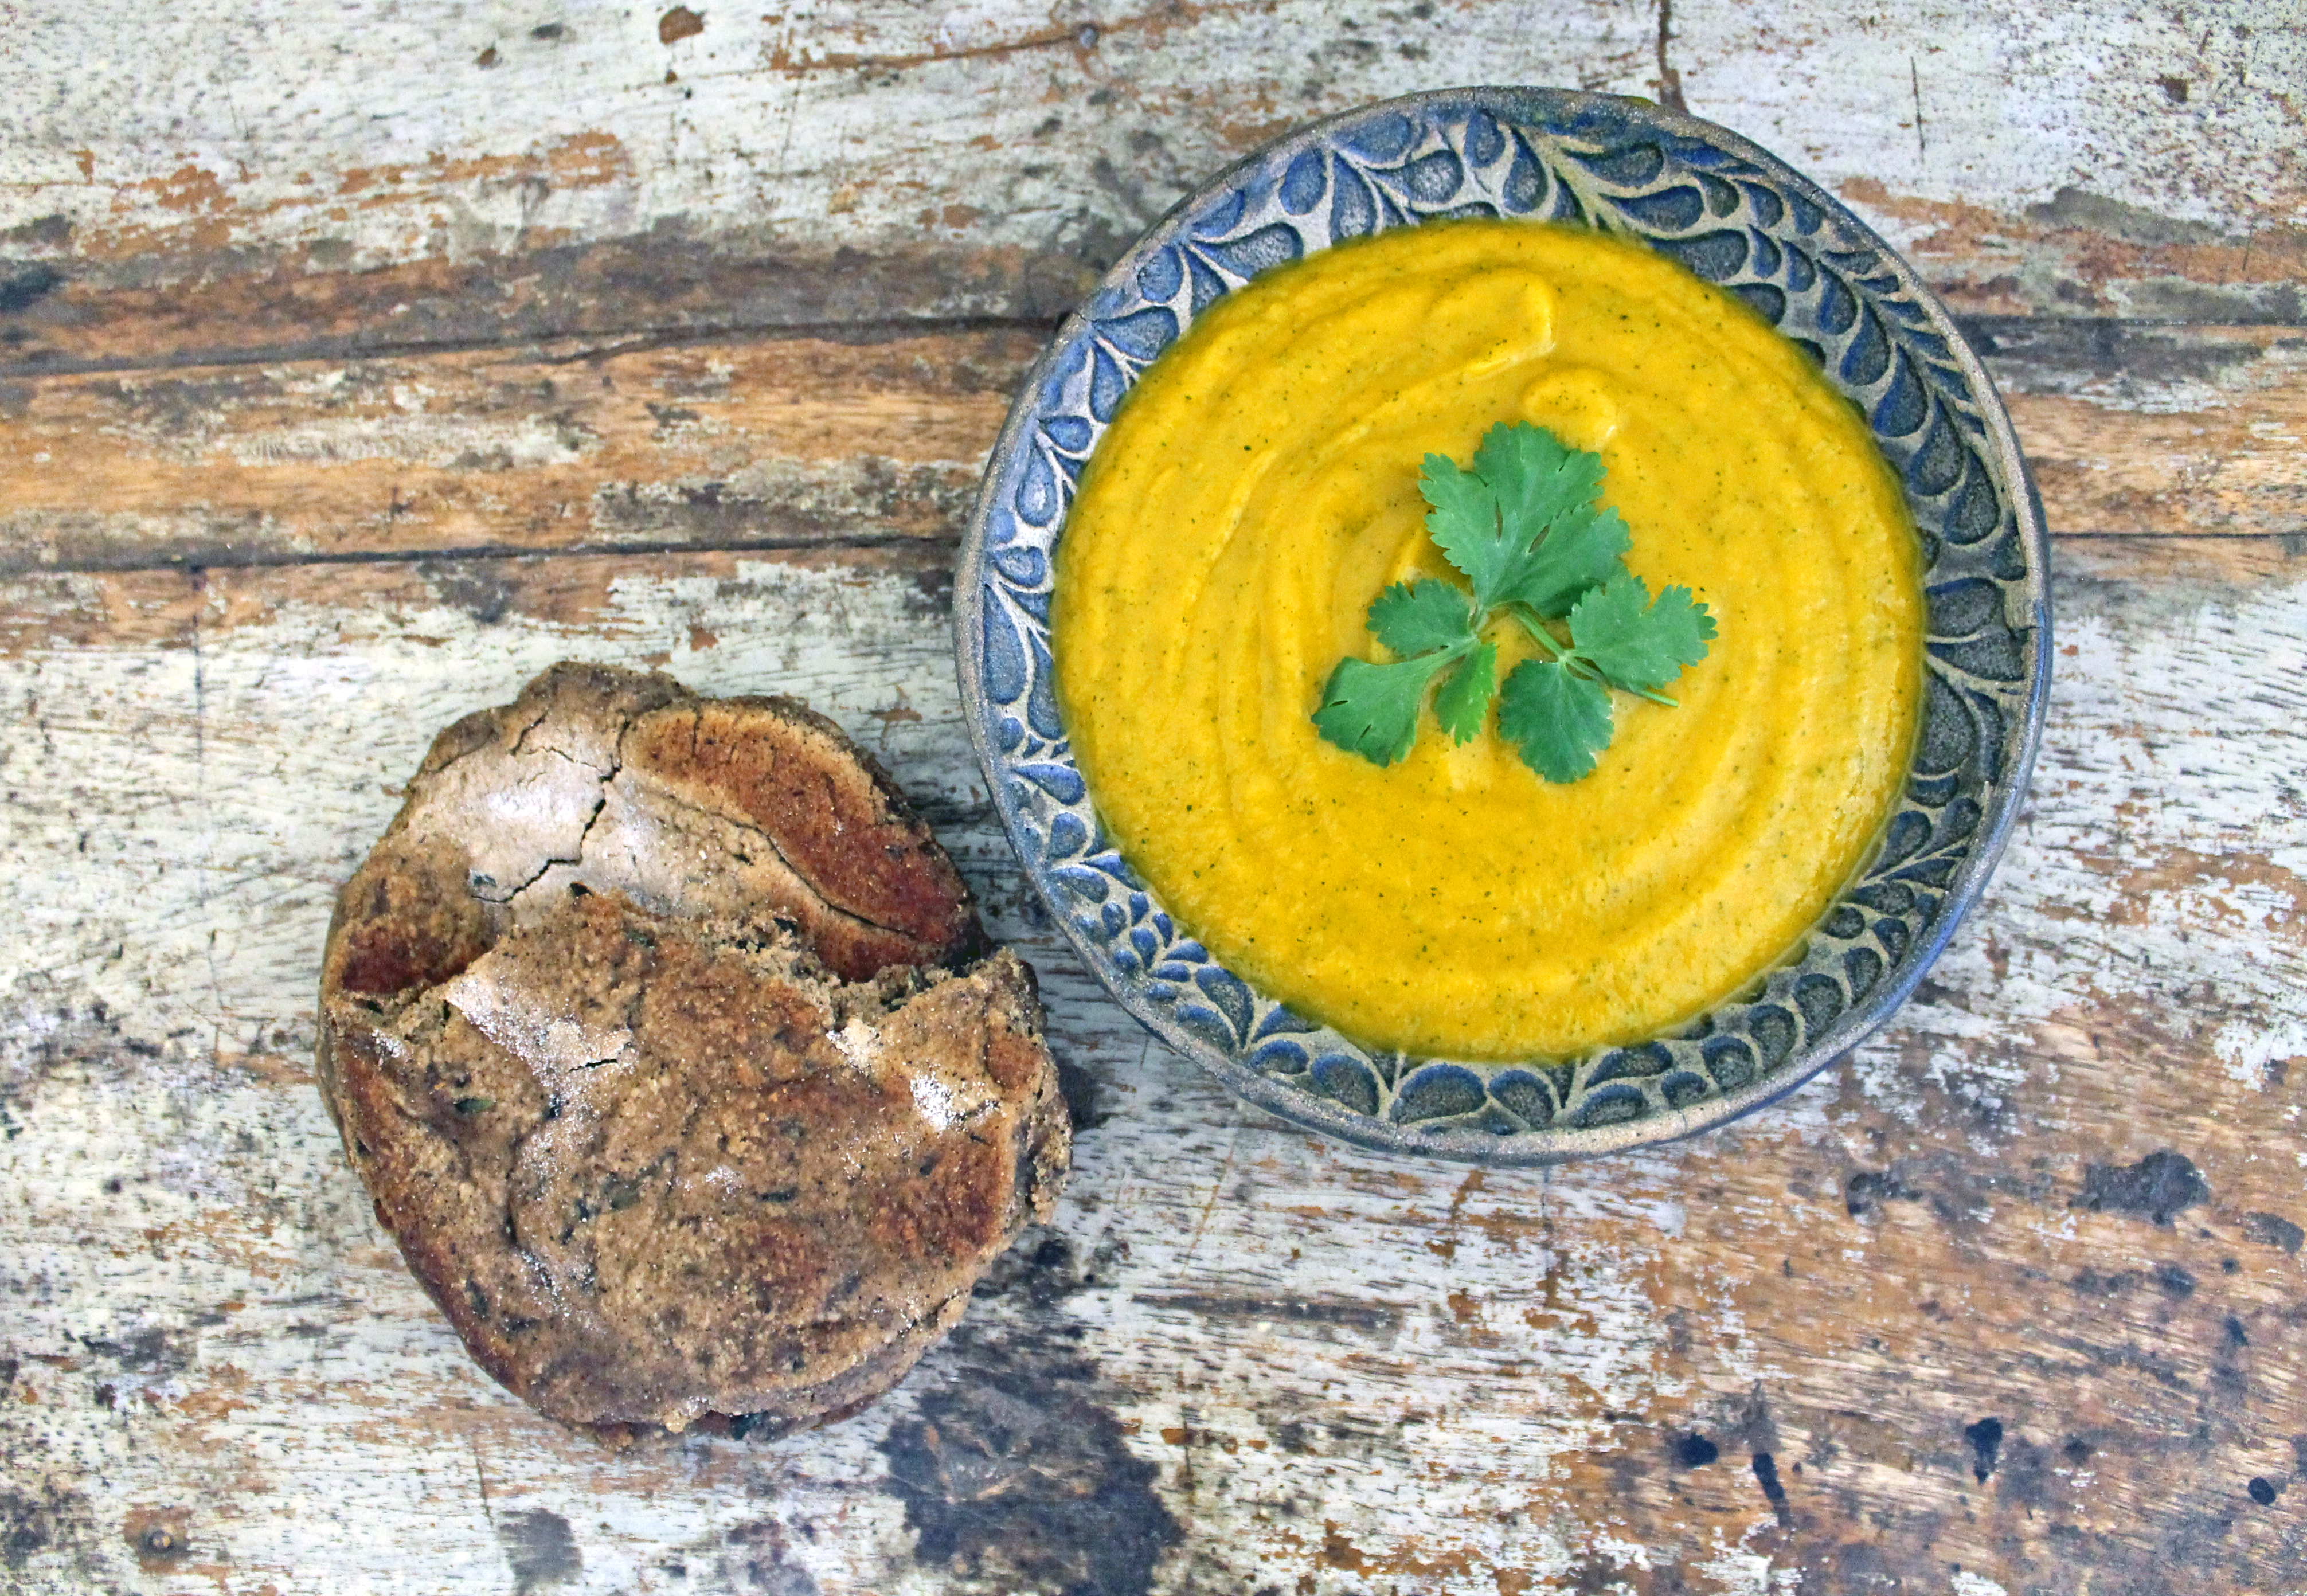
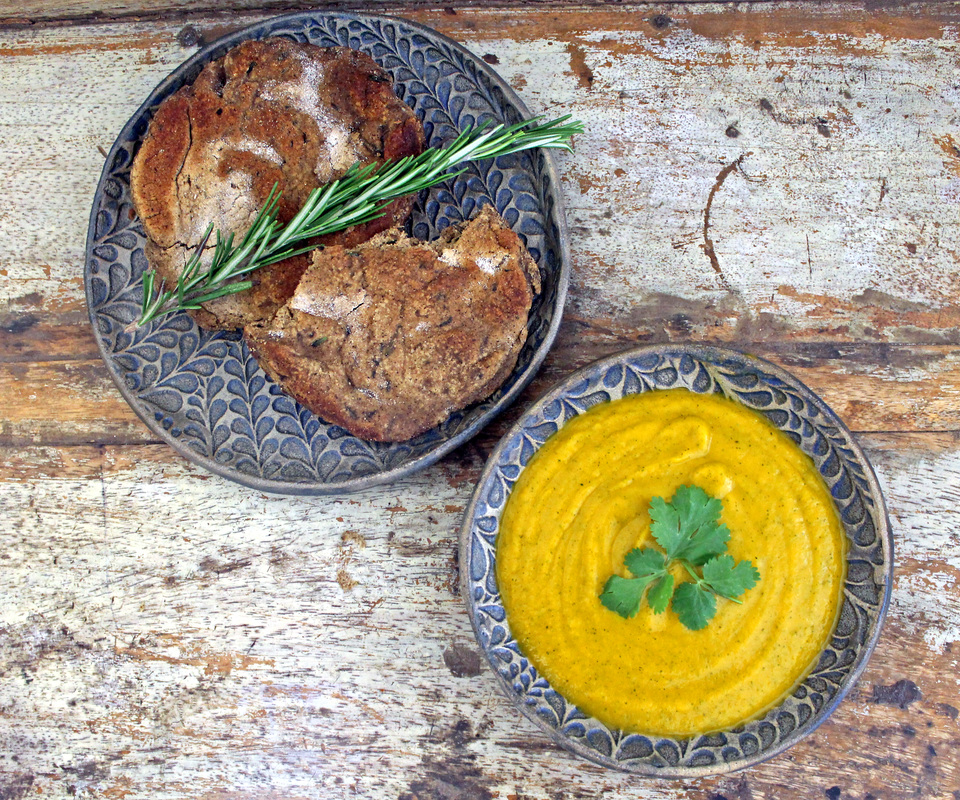
Determined, I continued my search for something a little more robust. That's when I discovered Poori - a puffed Indian flatbread made from water chestnut flour and potato. Potatos are an AIP no no, so my thoughts turned to the humble swede (rutabaga) Surely anything a potato can do a swede can do better? Taking a traditional recipe for water chestnut Poori and applying my own adaptations, my little flatbreads were born. Cue tears of breaded joy. Water chestnut flour can taste a little bitter but I think these work perfectly as a gluten free bread alternative for anyone on a limited diet. Makes 8 flatbreads You will need: A food processor Ingredients: 2 cups of water chestnut flour plus extra for dusting (Please see link below) 2 tablespoons of fresh finely chopped rosemary (or any other herbs you fancy) 1 cup of cubed, soft boiled swede A generous pinch of Himalayan salt 2 teaspoons of water 2 teaspoons of extra virgin olive oil or melted coconut oil plus extra to grease the pan Method: Add the flour, rosemary, water, swede, salt and 2 teaspoons of oil to a food processor and blend on high speed until a ball of dough is formed. Remove the dough from the food processor and split into 8 chunks. With your hands, flatten the dough to form 8 flatbreads around half a centimeter thick. Dust these lightly on both sides with more flour. Heat a little coconut or olive oil in a large frying pan over a low heat. You want enough oil to lightly coat the pan and fry the bread, ensuring it doesn't stick. You do not want so much oil that it entirely saturates the bread. You will need to cook the breads in batches. I fry mine on a low heat for 4-5 minutes on each side until golden brown. I prefer to keep the heat low as this cooks them more evenly and prevents the outside from burning. Suggestions: Add dried coriander and serve with carrot soup Add Italian herbs and garlic oil and serve with gluten free pasta Add spices and dessicated coconut and serve with curry The bready possibilities are now endless...enjoy.
4 Comments
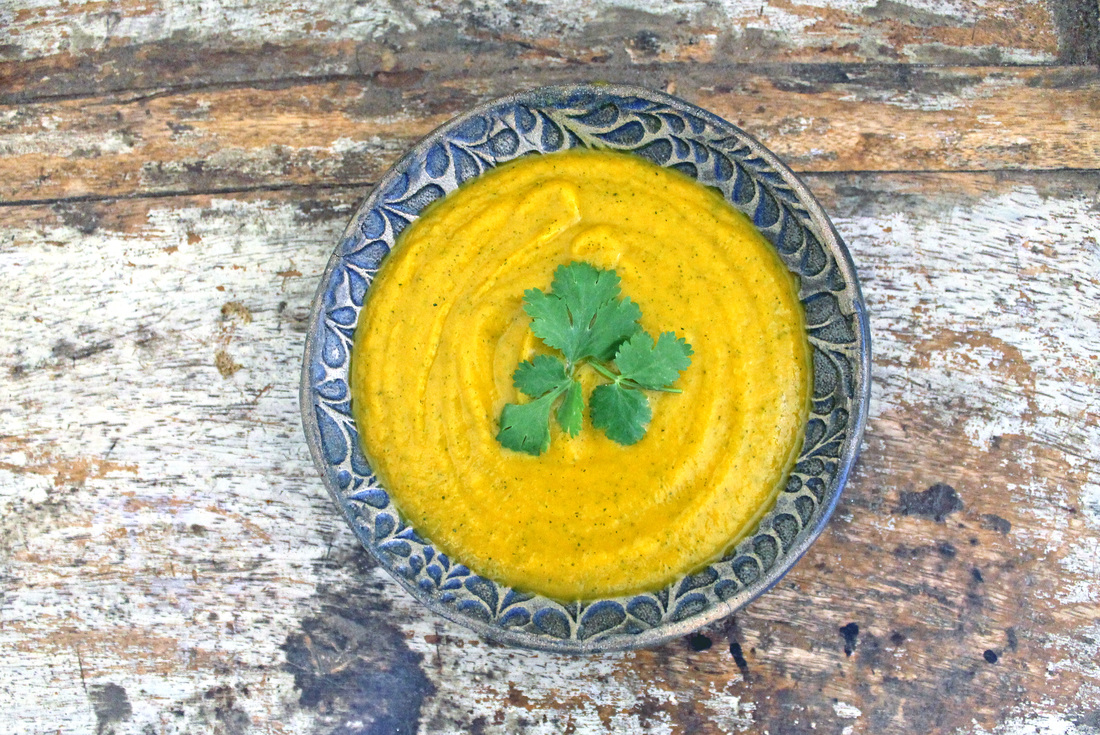
Spiced carrot and coriander soup (AIP, low FODMAP, Paleo, dairy free, gluten free) As the evenings get darker and the days get colder, there's nothing quite like a warming bowl of nourishing soup. What baffles me is how simple it is to make with only a few tasty ingredients. If I were to stroll into the supermarket and try to pick one off the shelves it would have more ingredients than you can shake a stick at, most of which I can't eat. Making it yourself is so easy though, it almost seems too good to be true. What's more you can batch cook it and freeze individual lunch portions or even have it for dinner and chuck a few meatballs in (yes that is a thing).
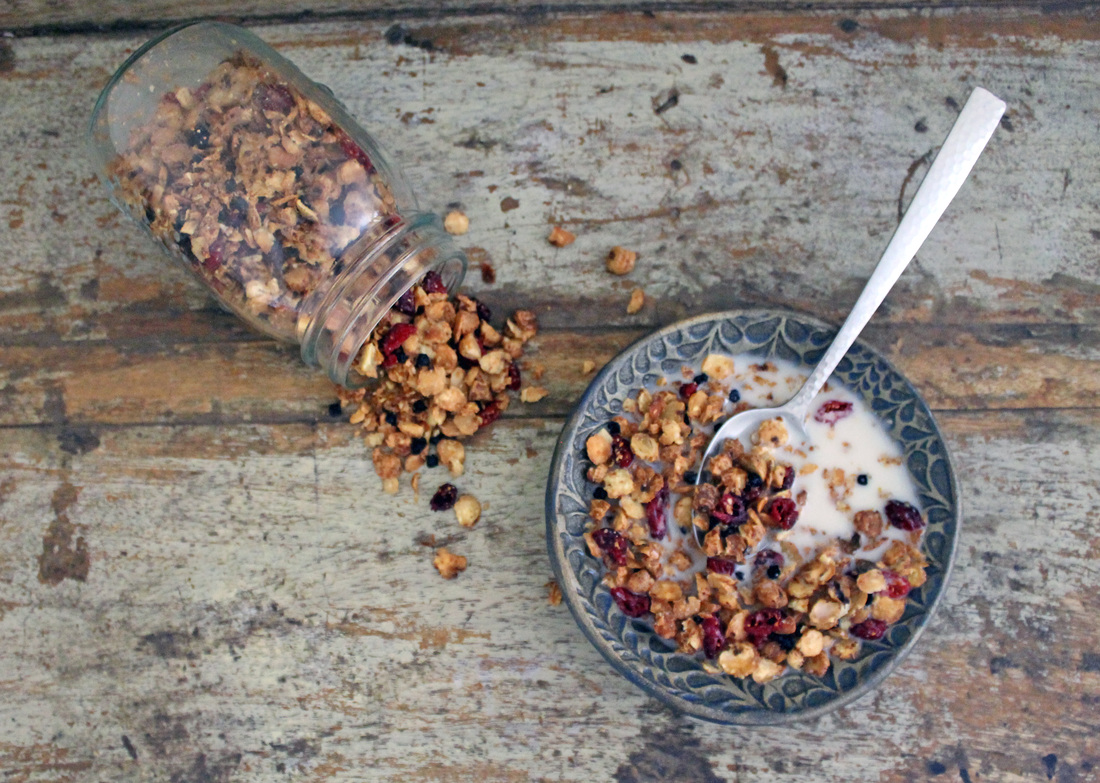
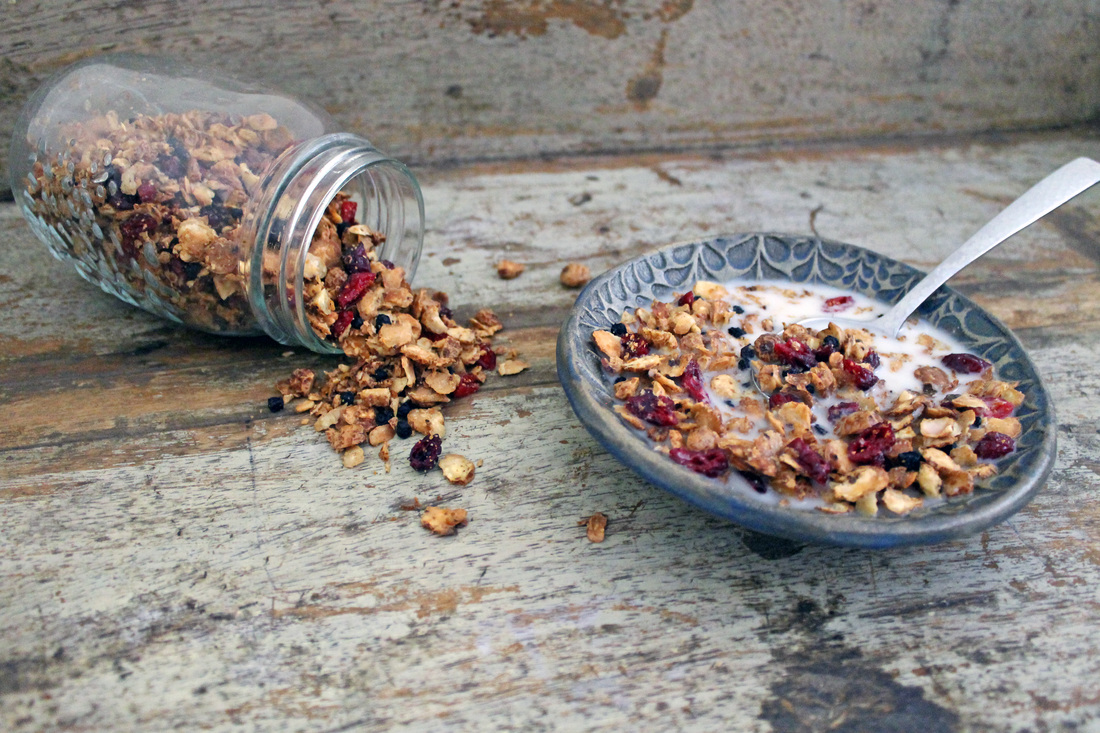
This soup is sweet, spicy, nourishing and full of digestive healing goodness. Serves 4 Ingredients: 750g of organic carrots, washed and sliced into quarters lengthwise 3 heaped teaspoons of ground ginger 1.5 tablespoons of dried coriander leaf Himalayan sea salt 5.5 cups of water or bone broth Tablespoon of coconut oil Fresh coriander You will need: A blender Method: Preheat the oven to 180 degrees for fan assisted - 200 degrees conventional. Place the carrots on a large roasting tray with the coconut oil and a good pinch of salt. Roast these until very soft and slightly caramelised - this will take about an hour. Allow the carrots to cool and transfer to your blender. Add the ground ginger, dried coriander, a good pinch of salt and your liquid. You can use bone broth but I choose to use water as I struggle with the histamine in broth (It still tastes just as good with water though). Blitz the ingredients on a high setting in your blender until you have a thick rich, soup. Transfer to a large saucepan and warm through over a low/medium heat. To serve stir through fresh coriander. How easy was that? Tiger nut and cranberry granola (AIP, low FODMAP, Paleo, gluten free, nut free) I absolutely adore my AIP diet, and I shall never tire of consuming copious amounts of meat and vegetables. But there comes a time every now and then when you think/scream, MY GOD WILL SOMEBODY PASS ME SOME CEREAL. But what generic cereals lack in terms of nutrition, this granola makes up for tenfold. Yes, it's the humble tiger nut once again - is there anything these little guys can't do?
This cereal is sweet, crunchy and oh so nourishing, even more so when doused in home made tiger nut milk. You can follow the recipe to make the crunchy tiger nut base and then pretty much add in any other ingredients that take your fancy! Makes 6 servings Ingredients: 2 cups of soaked organic tiger nuts ( I soaked mine for 24 hours) 1 tablespoon of melted coconut oil 1 tablespoon of maple syrup 1.5 tablespoons of chopped dried cranberries 1 tablespoon of dried blueberries Zest of half a large orange A pinch of Himalayan sea salt Optional: 1 Teaspoon of cinnamon You will need: A food processor with slicer attachment blade Method: Preheat the oven to 200 degrees fan assisted. 220 degrees for conventional. Line a large baking tray with baking parchment. Drain and rinse the soaked tiger nuts. Take a half cup of the tiger nuts and chop them roughly into small chunks. With the remaining 1.5 cups, add these to the food processor and use your slicer attachment to create thin slivers. Add both the slivers and the chunks to the baking tray with the maple syrup, orange zest, melted coconut oil and pinch of salt. Give this a good mix with your hands to ensure that the maple syrup and oil is evenly coating the tiger nuts. At this point you can also add a teaspoon of cinnamon for extra sweetness. Place the tray in the centre of the oven for 25-30 minutes. Every five minutes give it a good mix to ensure it is baking evenly. You will know they are ready when they are a golden brown colour and perfectly crunchy. Remove the granola from the oven and allow to cool completely. Stir through the chopped cranberries and blueberries and you're good to go! This is delicious served with ice cold tiger nut milk. Transfer to an airtight container to store. Carrot cake (AIP, Paleo, Low FODMAP, gluten free, dairy free, egg free)
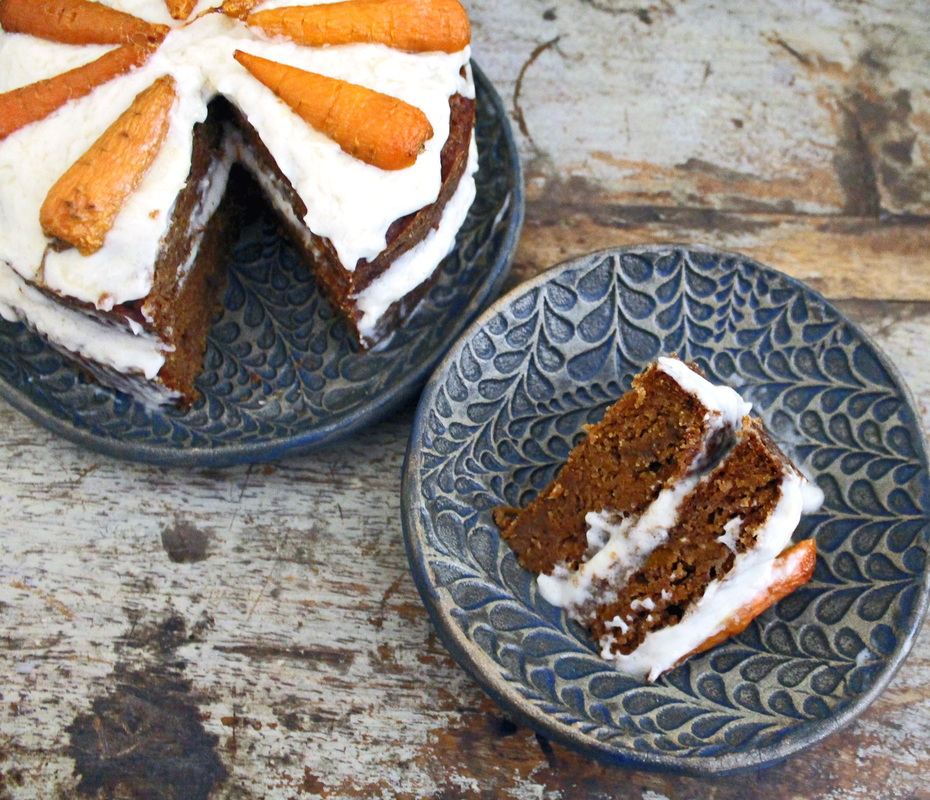
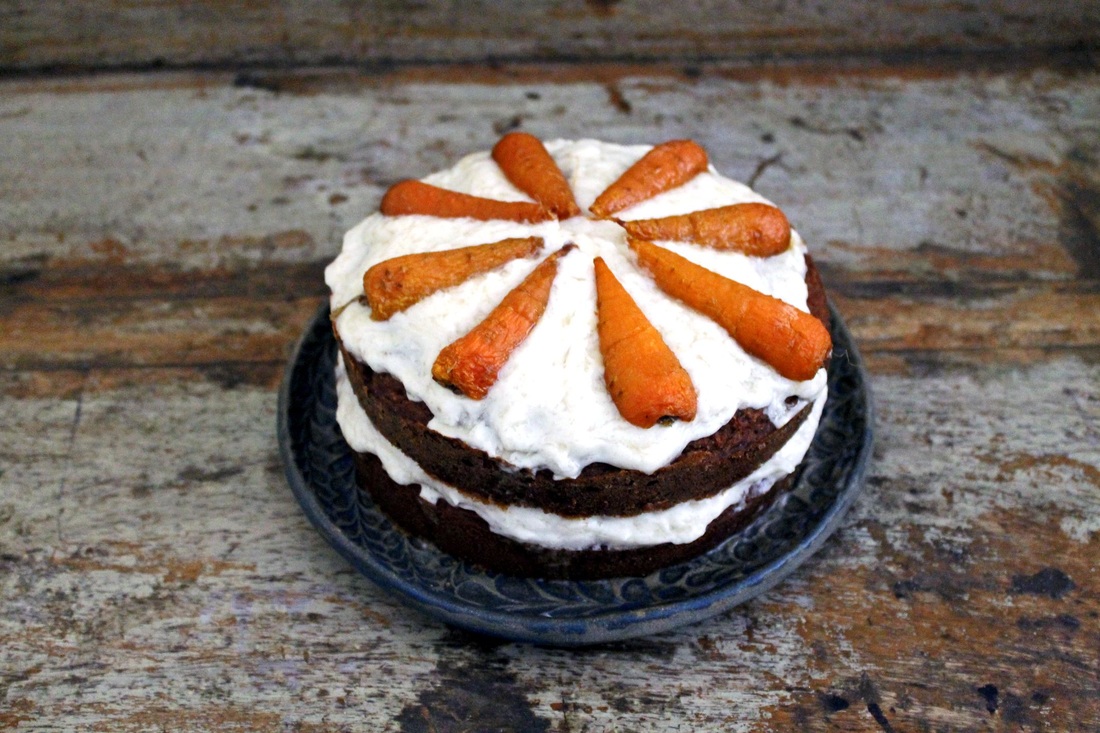
(After making a batch of carrot cake muffins I decided they were so delicious the mixture was deserved of being made into a whole cake. Admittedly I was a little over zealous with the frosting, but lets say I was going for a rustic look. Either way this cake is moist, mildly spiced and full of carrot-y goodness. Working with such limited ingredients to create allergen free recipes is always challenging but the texture and flavourings of this cake came out perfectly. Although a healing diet should keep the sweet treats to a minimum, I believe we all need to indulge once in a while and this cake is the perfect afternoon tea treat.
To make the sponge Ingredients: 1/2 a cup of arrowroot plus 1 tablespoon 1 and 1/2 cups of tiger nut powder 1 teaspoon of vanilla powder 1 and 1/2 teaspoons of bicarbonate of soda Pinch of salt 1 tablespoon of ground ginger 1 dessert spoon of ground cinnamon 1 teaspoon of ground mace 1 quarter teaspoon of ground cloves 1 packed cup of finely grated carrot 1/4 cup of carrot pulp Zest of half an orange 1/4 cup plus 1 teaspoon on maple syrup 1/2 cup of tiger nut milk 1 dessert spoon of lemon juice 1/4 cup plus a tablespoon of melted coconut oil (Please see link below for my favourite brand) 2 tablespoons of gelatin (Please see link below for my recommended brand) 2 tablespoons of warm water To make the frosting: 1/2 a cup of tiger nut powder 1/2 cup of tiger nut milk 2 tablespoons of coconut oil 1 tablespoon of maple syrup Equipment: You will need a food processor to make your frosting 2 x 15 inch circular cake tin, or use one and bake your cake mixture in two separate batches. Method: Preheat the oven to 200 degrees, 180 for fan assisted. Peel and dice two carrots and add to a roasting tin with a little coconut oil. Roast until caramelised and soft. Remove from the oven then mash these with the back of a fork to create a pulp. You need 1/4 cup of this. Sift your tiger nut powder and arrowroot together into a large mixing bowl. Add the vanilla powder, bicarbonate of soda, salt, orange zest and dry spices. Mix thoroughly to distribute the spices throughout the flour evenly. In a separate mixing bowl add the maple syrup, melted coconut oil, orange zest, milk, lemon juice and warm water. Sprinkle the gelatin across the surface of the liquid and whisk immediately so the gelatine does not clump together. Slowly pour this mixture into your dry ingredients, stirring and incorporating as you go. Add the grated carrot and carrot pulp and mix everything together thoroughly. Divide your mixture between the two cake tins and place in the centre of the oven to cook for 35 minutes. The cakes should be golden brown, slightly firm and a tooth pick should come out clean. If they feel a bit wobbly, let them cook a little longer. When ready remove from the oven and allow to cool completely. They need to be totally cool for the buttercream icing. To make your buttercream, add the tiger nut powder and coconut oil to your food processor. Blend on a high speed until you have a thick, smooth paste. Add the maple syrup and blend again. Start adding the milk and continue to blend until you have a smooth creamy liquid. Transfer this to a bowl and refrigerate for 15 minutes. After this time remove the frosting and whip it to a fluffy consistency. return to the fridge until ready to use. Once your cakes are cool you can use a spatula to spread your buttercream over the surface of one of your cakes. Place the second cake on top and coat the top of this layer with buttercream. Enjoy!
https://www.thetigernutcompany.co.uk/shop/new-organic-tiger-nut-powder/
|
Emma CarterThis blog tells an ongoing story about me and my journey back to health and happiness. A boho soul always looking for my next European adventure. I am a Coeliac, Yogi, paleo advocate, dreamer, Bon jovi connoisseur, sun worshipper, snuggly jumper wearer and wife to my lovely Paulie. Archives
April 2017
Categories
All
|



 RSS Feed